Explore our precision seamless tubes, engineered to meet exacting standards for seamless performance in various industrial applications.
CDS is popular in the hydraulics, being used to make hollowed chrome plated telescopic cylinders and hydraulic rods. It is also popular for large bore, heavy walled, high pressure hydraulic cylinders.
| Designation | Symbol | Description | |||||||
|---|---|---|---|---|---|---|---|---|---|
| Cold drawn/hard | +C | No heat treatment after the final cold drawing process | |||||||
| Cold drawn/soft | +LC | After the final heat treatment there is a suitable drawing pass | |||||||
| Cold drawn and stress relieved | +SR | After the final cold drawing process there is a stress relief heat treatment in a controlled atmosphere | |||||||
| Annealed | +A | After the final cold drawing process the tubes are annealed in a controlled atmosphere | |||||||
| Normalized | +N | After the final cold drawing operation the tubes are normalized in a controlled atmosphere | |||||||
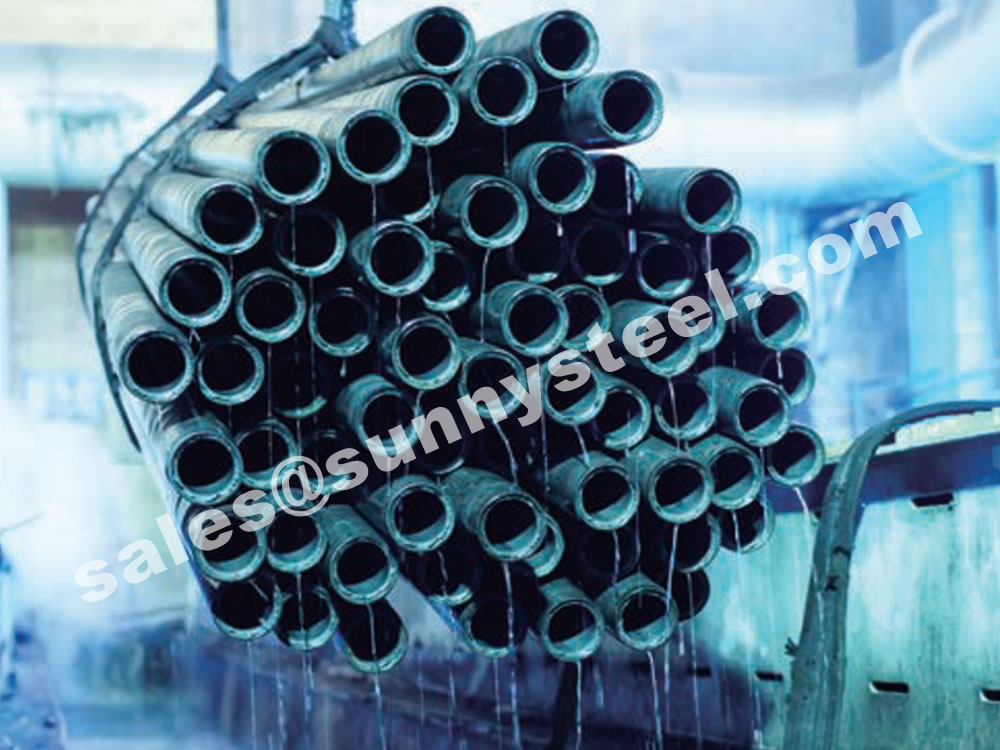
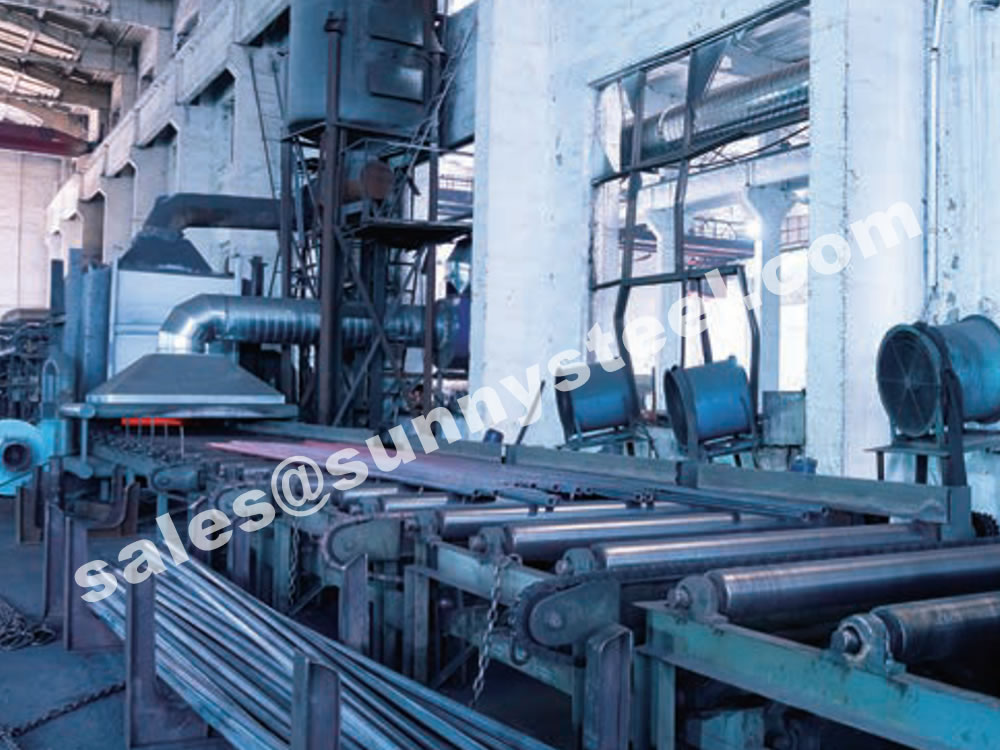
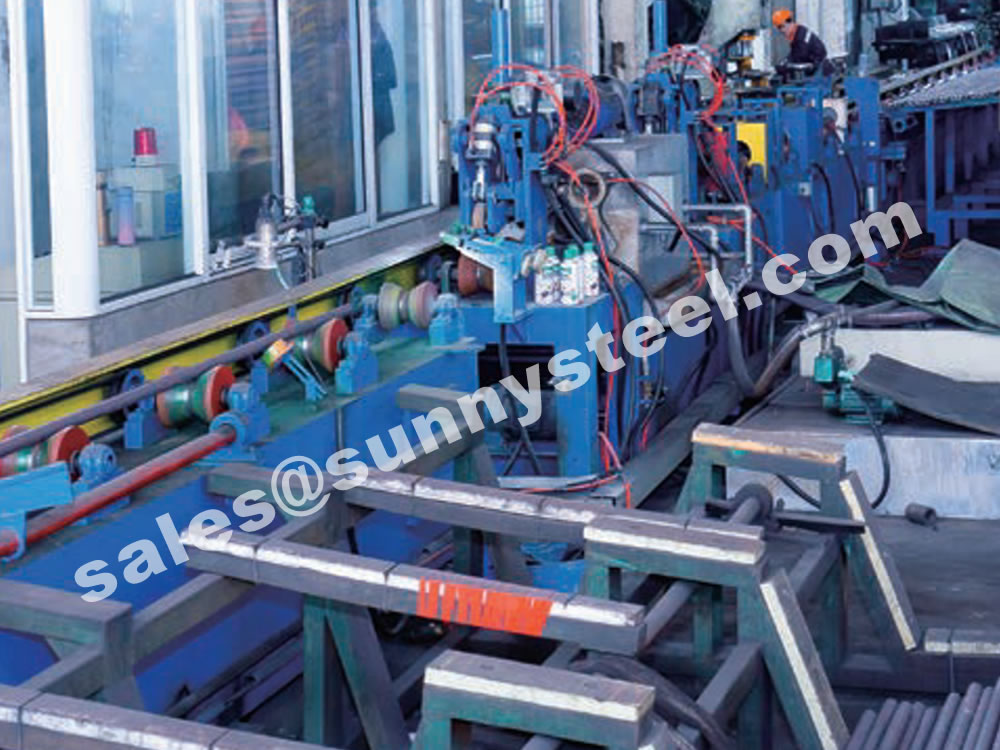
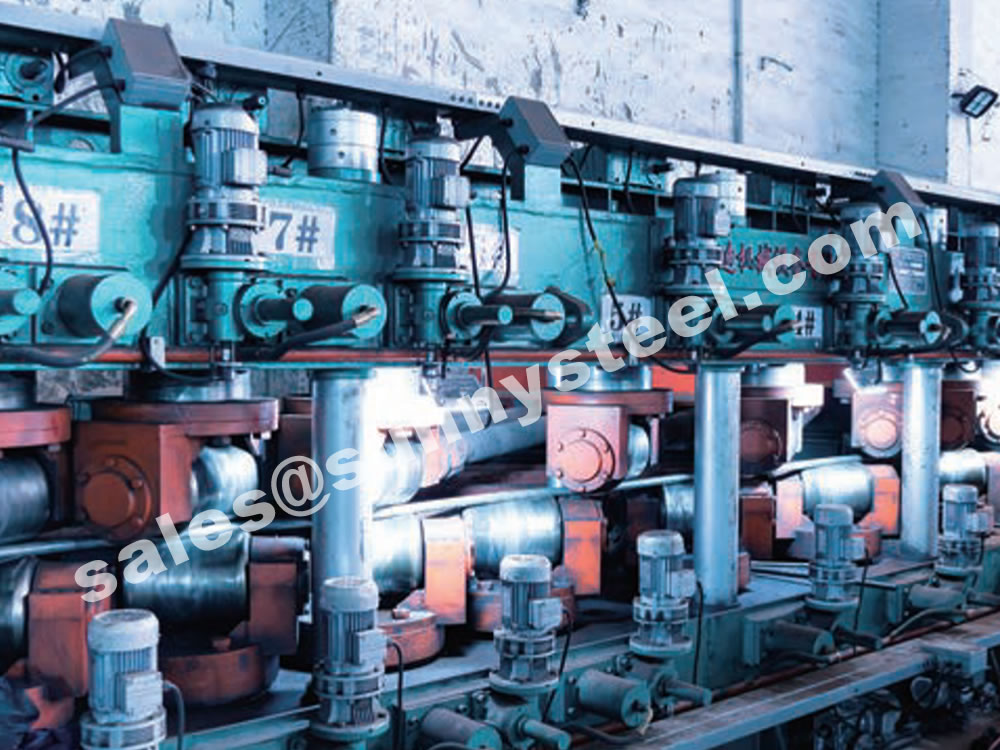
Precision seamless pipes are typically produced through a cold-drawn or cold-rolled process. This process involves drawing the steel through a die to achieve the desired dimensions and surface finish. The resulting pipes have tight tolerances and excellent surface quality.
Outer diameter: 10-120mm
Wall thickness: 1-20mm
Explore our steel processing techniques, including precision drawing (Cold Drawn) and precision rolling (Cold Rolled), ensuring high-quality and precise end products.
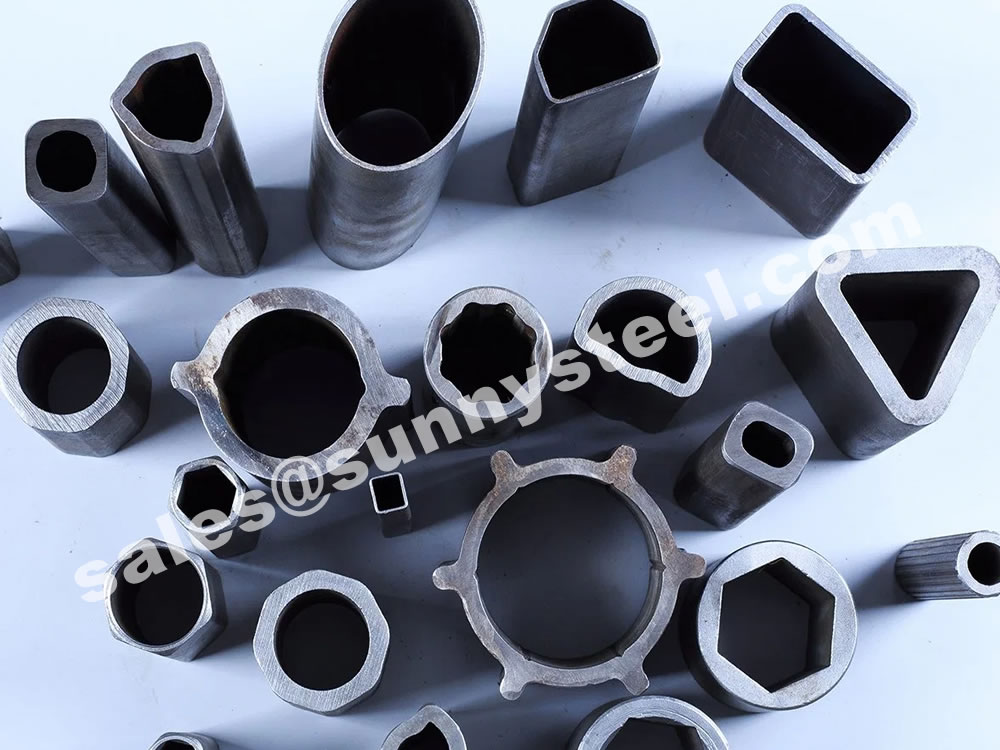
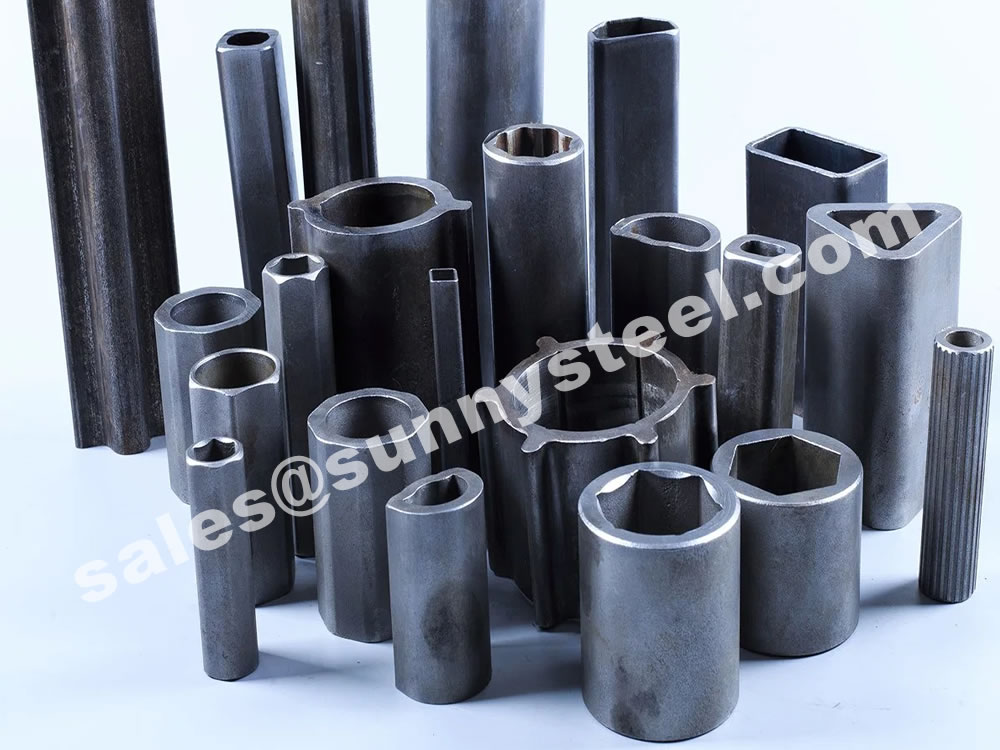
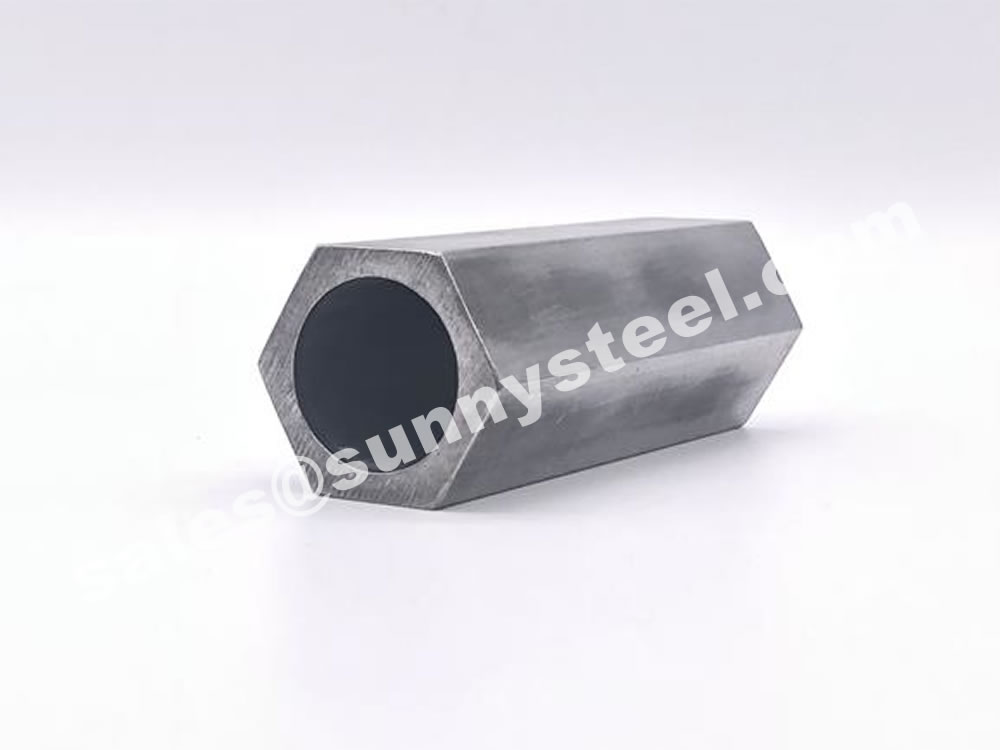
Round, Special Shaped (Triangle, Rectangle, Hexagon, Octagon, and etc.)
Other special shapes, customizable according to drawings.
Alloy Structure Steels:GB/T 3077-2015
Quality Carbon Structure Steels:GB/T 699-2015
High Strength Low Alloy Structure Steels :GB/T 1591-2018
| Type of steel | GB(China) | ASTM A519 | DIN | JIS3445/JIS G4051 | OCT 4543-71 |
|---|---|---|---|---|---|
| Carbon steel | 10# | 1010 | C10/CK10 | SKM11A/ S10C | 10 |
| 20# | 1020/1018 | C22/CK22 | STKM12A/ 12B/ 12C | 20 | |
| Q235B | S235JO(1.0114) | SS400 | Cr3K II | ||
| 25# | 1026 | STKM13A /13B/13C/ S25C | 25 | ||
| 35# | 1035 | C35/CK35 | 35 | ||
| 45# | 1045 | C45/CK45 | 45 | ||
| 55# | CF53 | 55 | |||
| 65Mn | 1566 | 65┌ | |||
| Alloy steel | 16Mn(Q345/Q355) | St52 | |||
| Q345A/A355A | Grade 50[345] | E355(1.0060) | SPEC590 | 345 | |
| Q345B/Q355B | S355JR(1.0045) | ||||
| Q345C/Q355C | S355J0(1.0553) | ||||
| Q345D/Q355D | S355J2(1.0577) | ||||
| Q345E/Q355E | S355NL(1.0546) | ||||
| 20Cr | 5120 | 20Cr4(EN10084-1998) | JIS SCr420(JIS G4053) | 20X | |
| 40Cr | 5140 | 41Cr4(1.7035) | JIS SCr440(JIS G4053) | 40X | |
| 15CrMo/15CrMoG | 15CrMo4 | SCM415 (JIS 4053) | 15XM | ||
| 20CrMo | 18CrMo4(1.7243) | SCM420(JIS 4053) | 20XM | ||
| 30CrMo | 4130 | 25CrMo4(1.7225) | SCM430 | 30XM | |
| 35CrMo | 4135 | 35CrMo4(1.7220) | SCM432/SCRRM3 | 35XM | |
| 42CrMo | 4140 | 42CrMo4(1.6511) | SCM440 | ||
| 20CrNiMo | 8620 | 20NiCrMo2-2(1.6523) | SNCM220 | 20XH2M(20HM) | |
| 40CrNiMo | 4340/E4340 | 36CrNiMo4(1.6511) | SNCM439 | 40XH2MA | |
| 20CrMnTi | 18X┌T | ||||
| 20Mn2 | 1524 | SMn420 | |||
| 40Mn2 | 1340 | SMn438 | 40┌2 | ||
| 15CrMn | 5115 | 16MnCr5(1.7131) | 18X ┌ | ||
| 20CrMn | 5120 | 20MnCr5(1.7147) | SMnC420 | 18X┌ | |
| 20CrMnMo | SCM421 | ||||
| Free Cutting steel | Y15 | 1213 | 11SMn30(1.0718) | SUM22 | A12 |
| 1215 | 11SMn37(1.0736) | SUM22 | A11 | ||
| Tube steel | GB/T 8162-2018 | ASTM A519/A530 | DIN17121/ EN 10297-1 | JIS G3441/ JIS G3444/ JIS G3445 | |
| GB/T 8163-2018 | ASTM A106 | ||||
| GB3639-2021 | DIN1629/ DIN2391 / EN10305-1 | GOST 8733-74 GOST 8734-75 (St.20, 09G2S) |
|||
| GB/T 3094-2012 | ASTM A500/ ASME SA500 | GOST 8645-68/ GOST 8639-82 |
|||
| GB/T3087-2008 | ASTM A179 | JIS G3461/ JIS G3462 | |||
| Precision welded tubes | DIN EN10305-2/ DIN EN10305-3 | ||||
| Rebar coupler | JG/T 163-2013 | Acorrd to BS4449, B500, ASTM A615 Grade 40/ Grade 60/ Grade 75 | |||
Design according to usage and processing procedures.
Precision tubes especially for automotive components.
International Alloy steel available(ST52,4130,25CrMo4)
Full range of sizes and high precision.
Trival Order: 3 tons to win trust.
The more order, the better price.
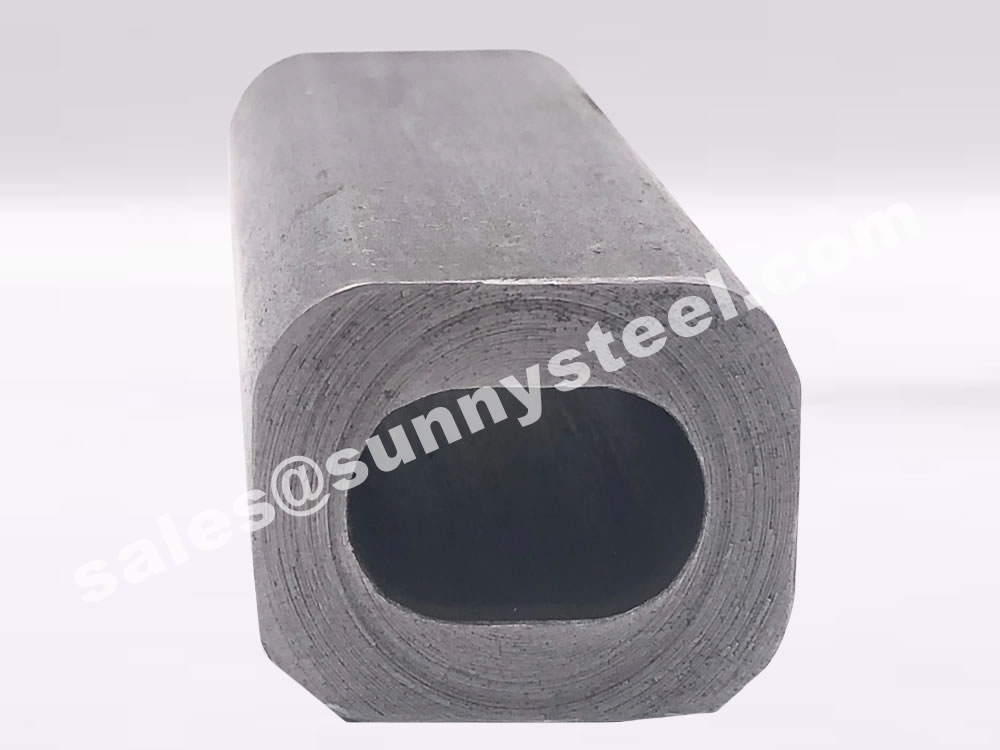
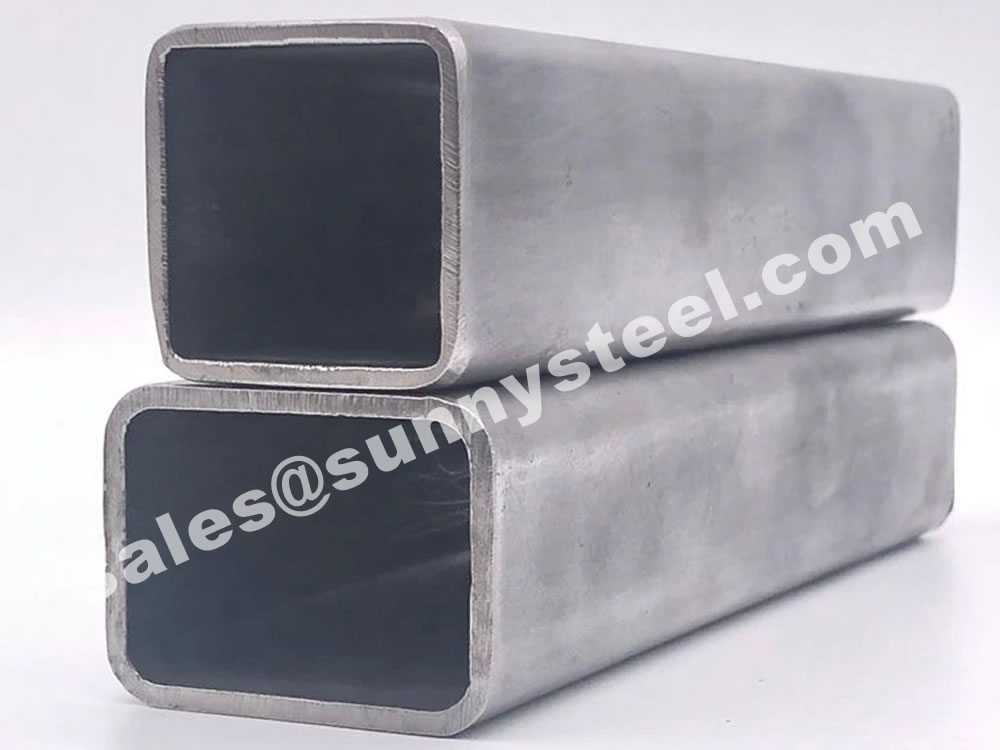
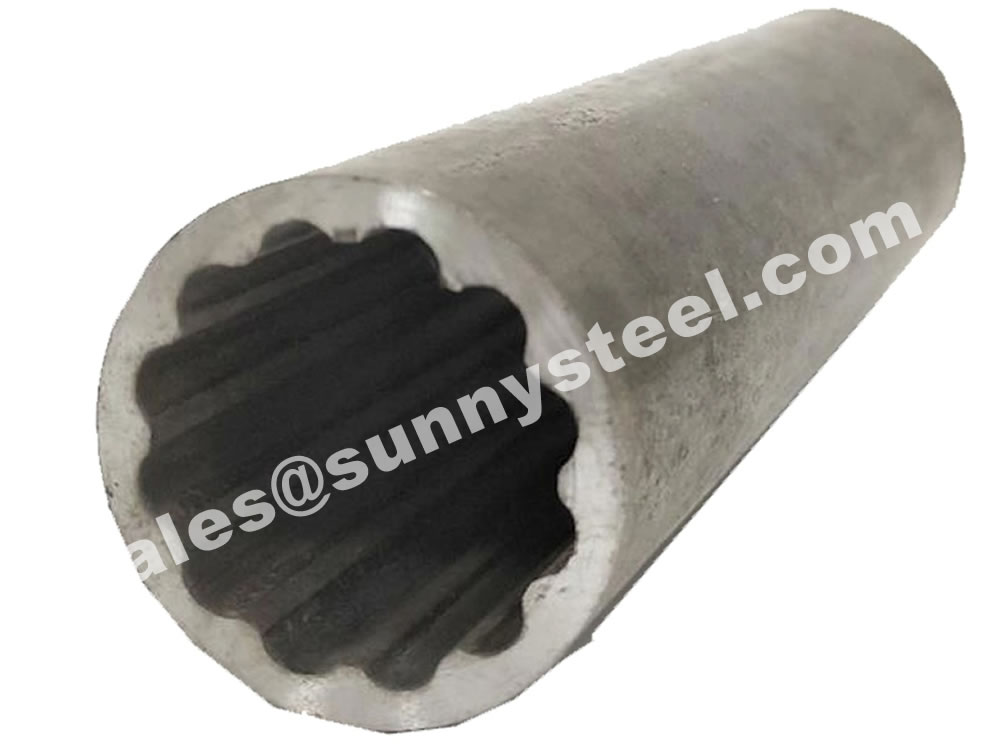
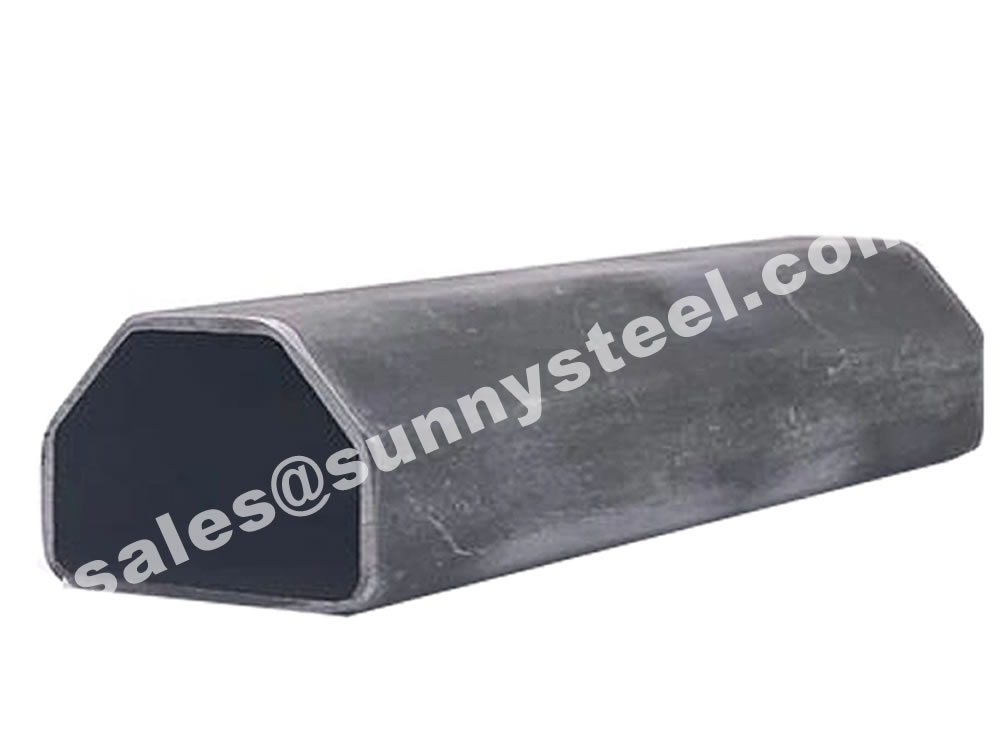
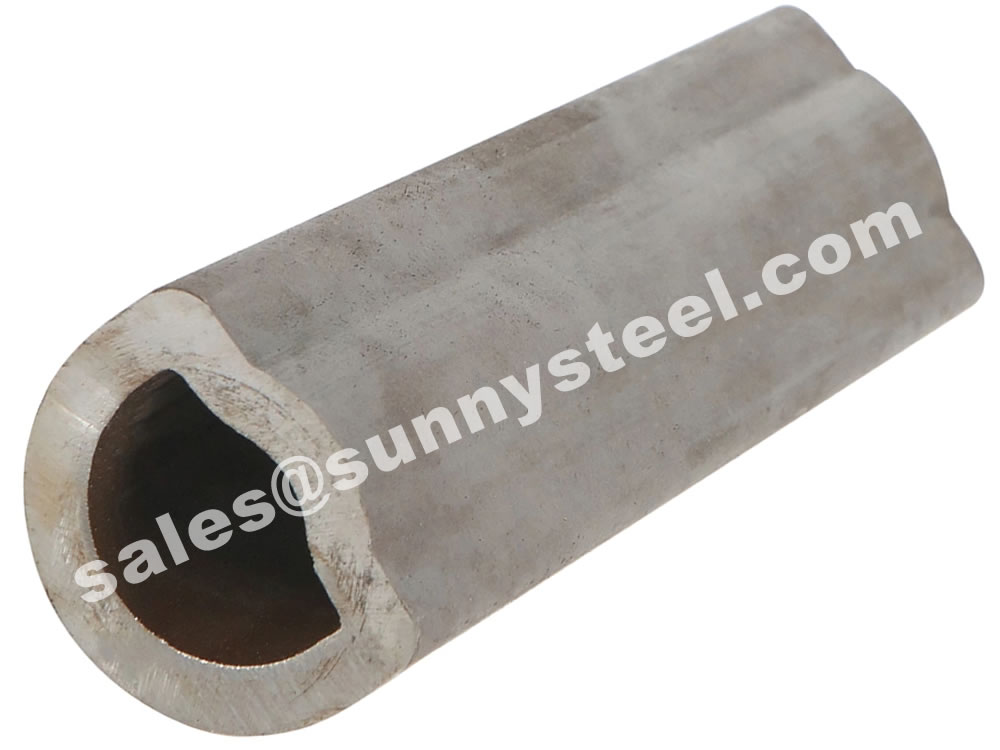
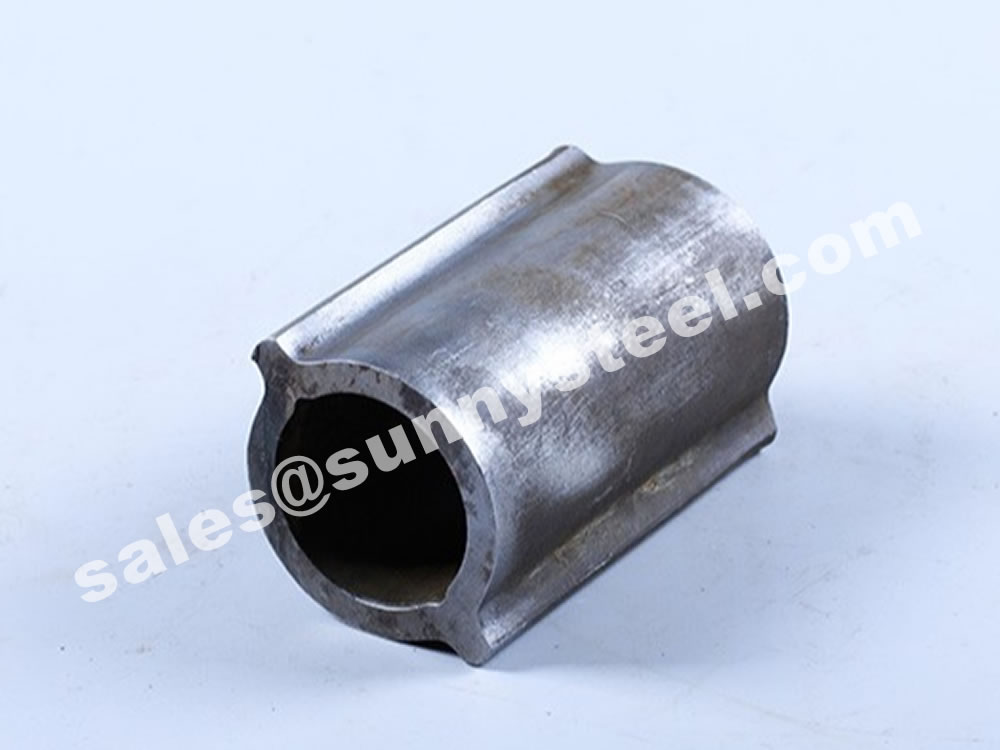
Hexagonal /Triangle /Splined /Trapezoidal/Square/fin tube/ other.
Exactly based on drawing.
Especially thick-wall tubes.
A shaped seamless steel tube refers to a seamless steel tube that has been formed into a specific shape or profile.
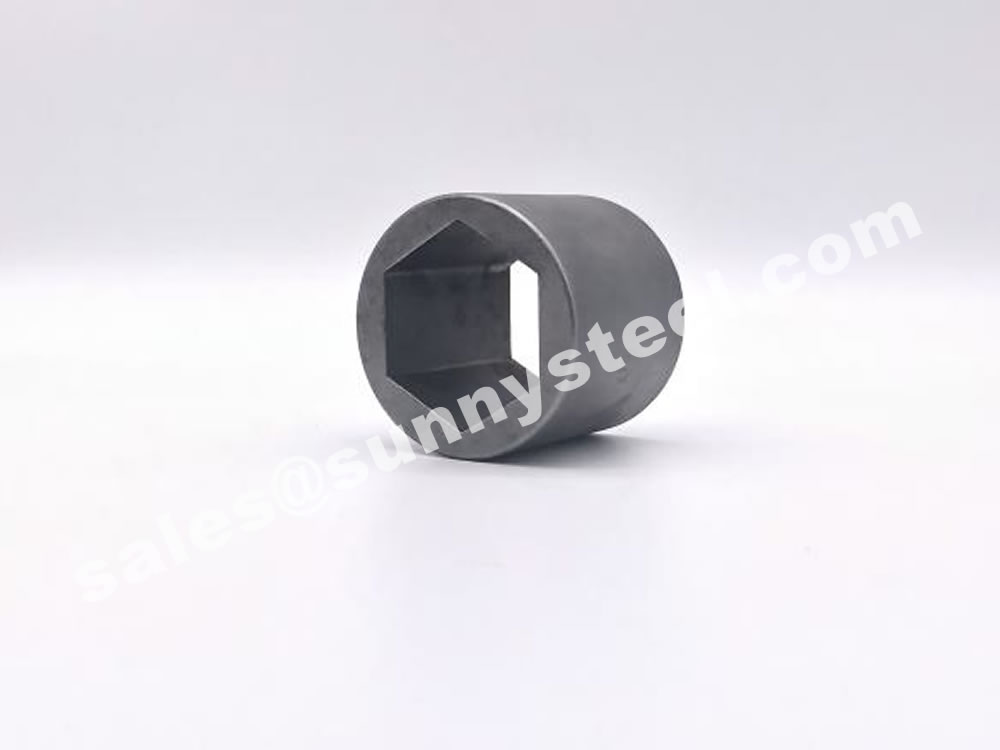
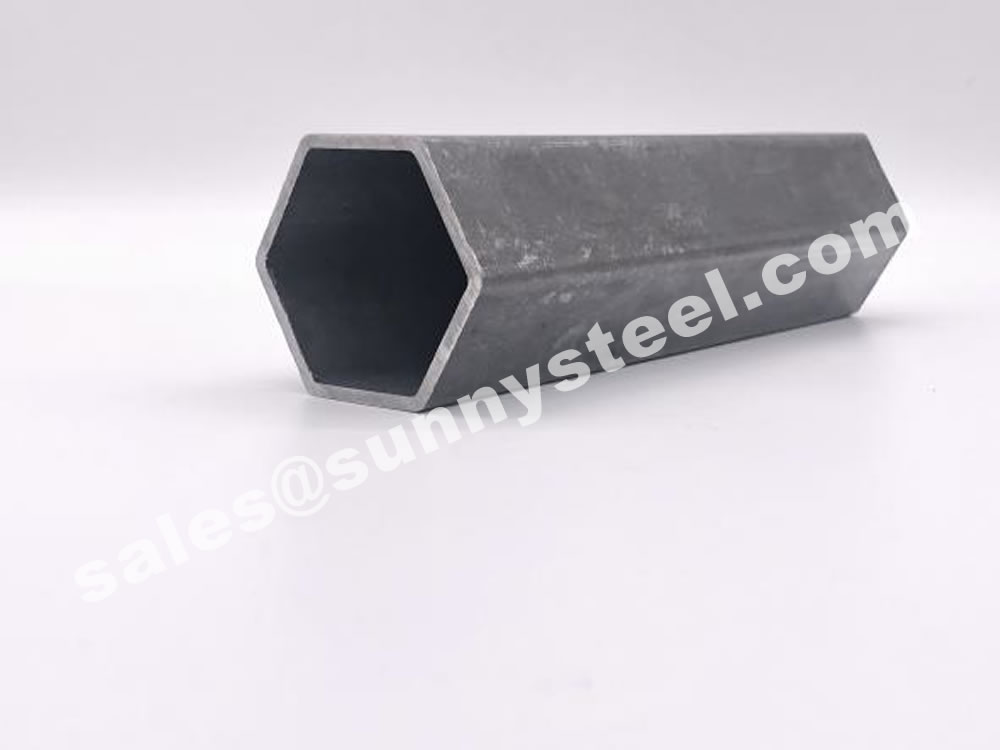
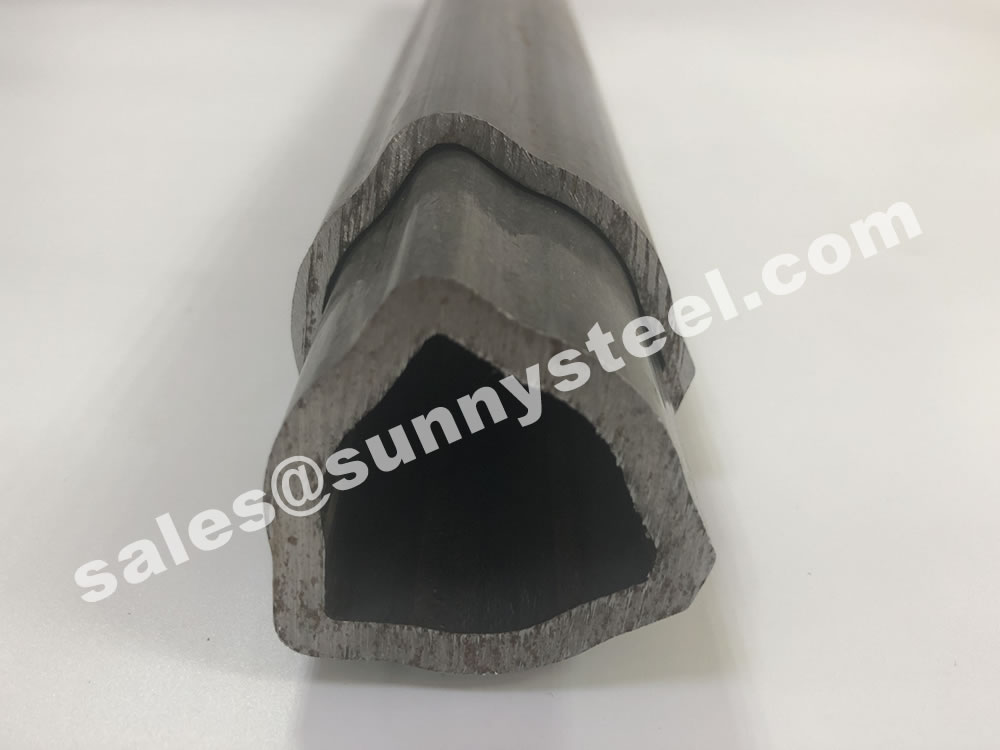
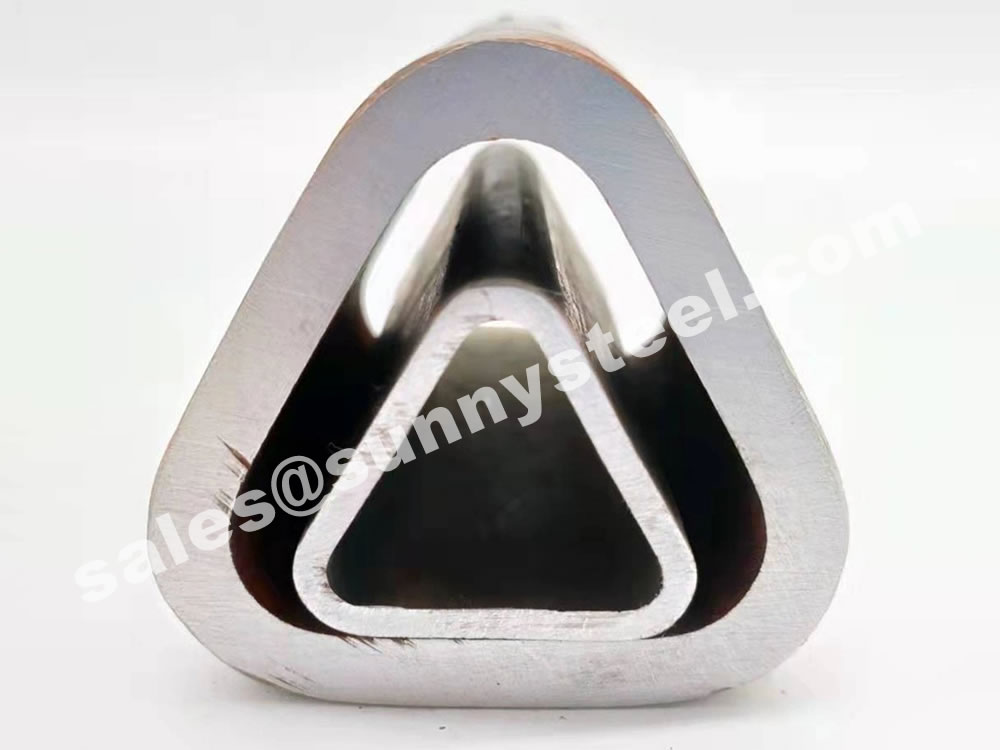

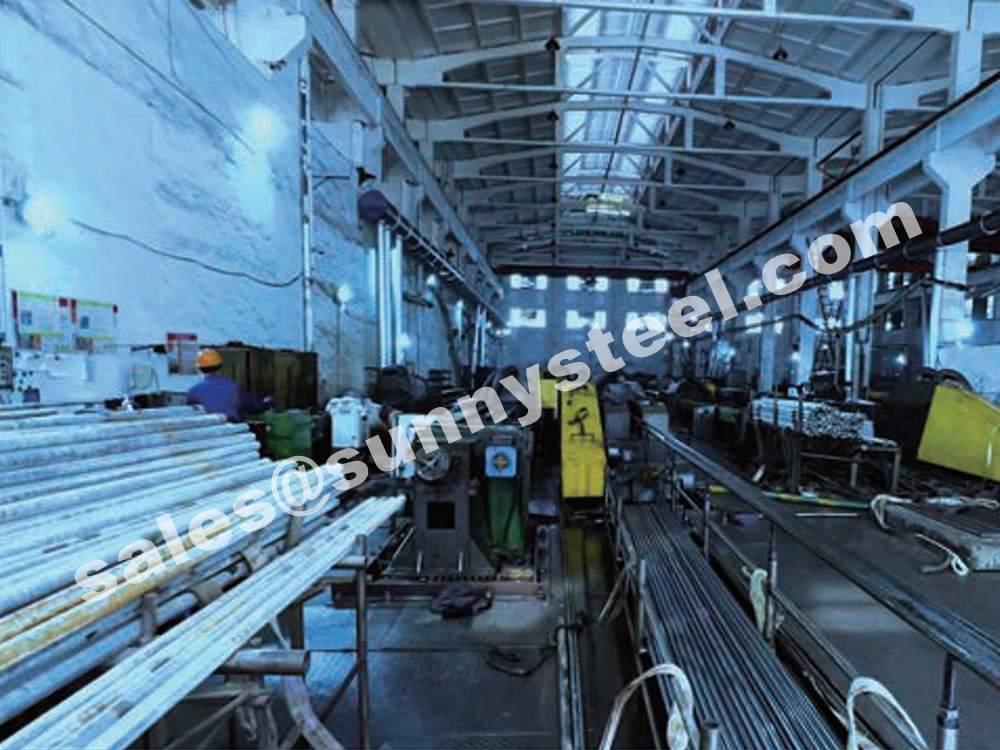
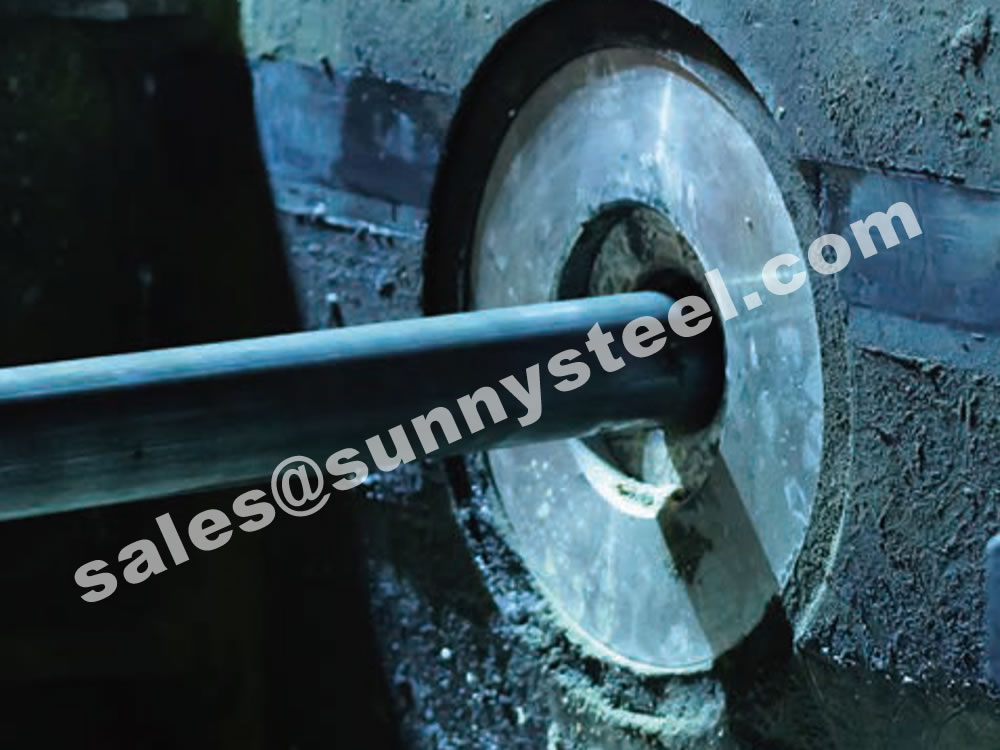

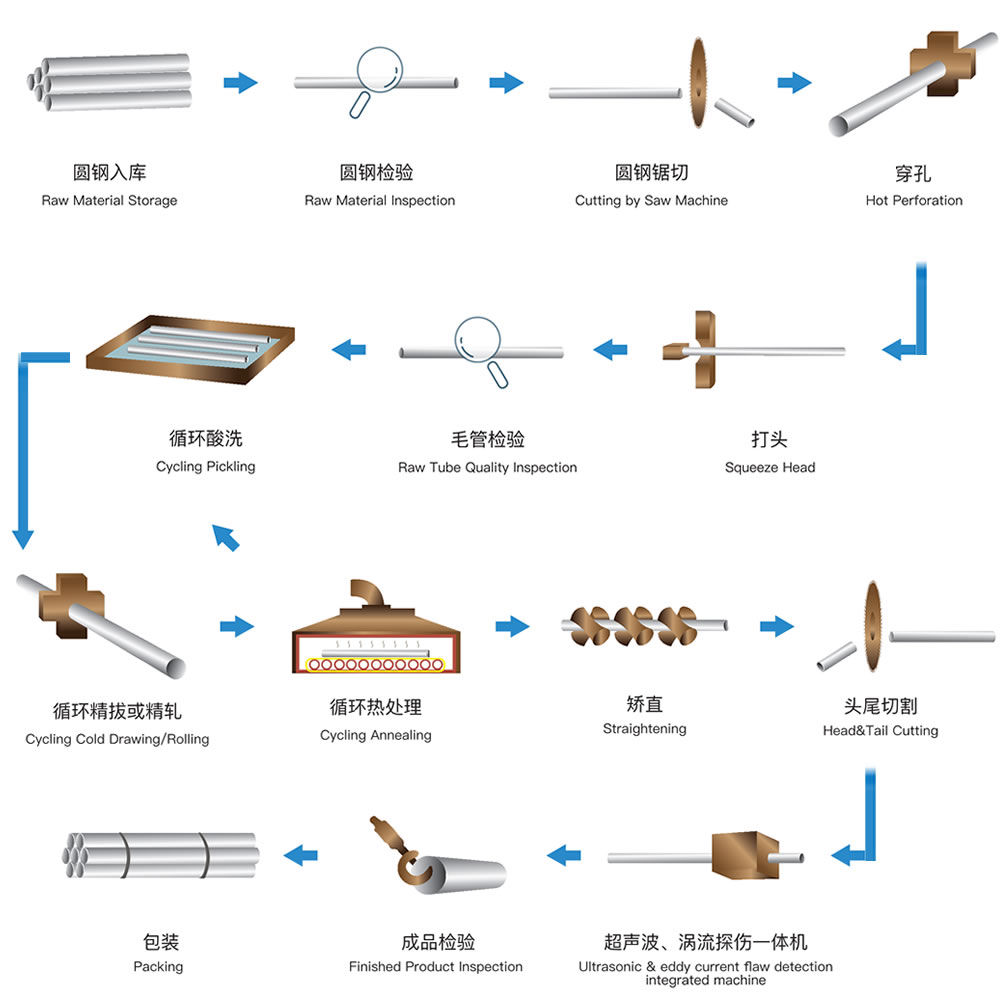
Explore common defects encountered in the production process of seamless steel tubes, along with potential causes and solutions.
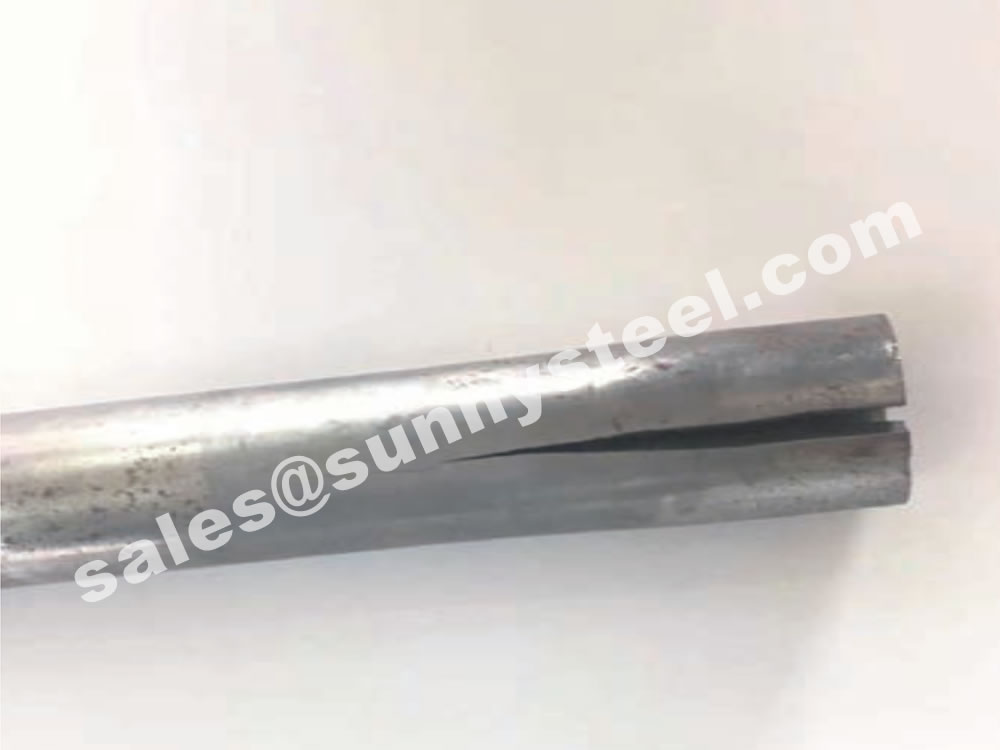
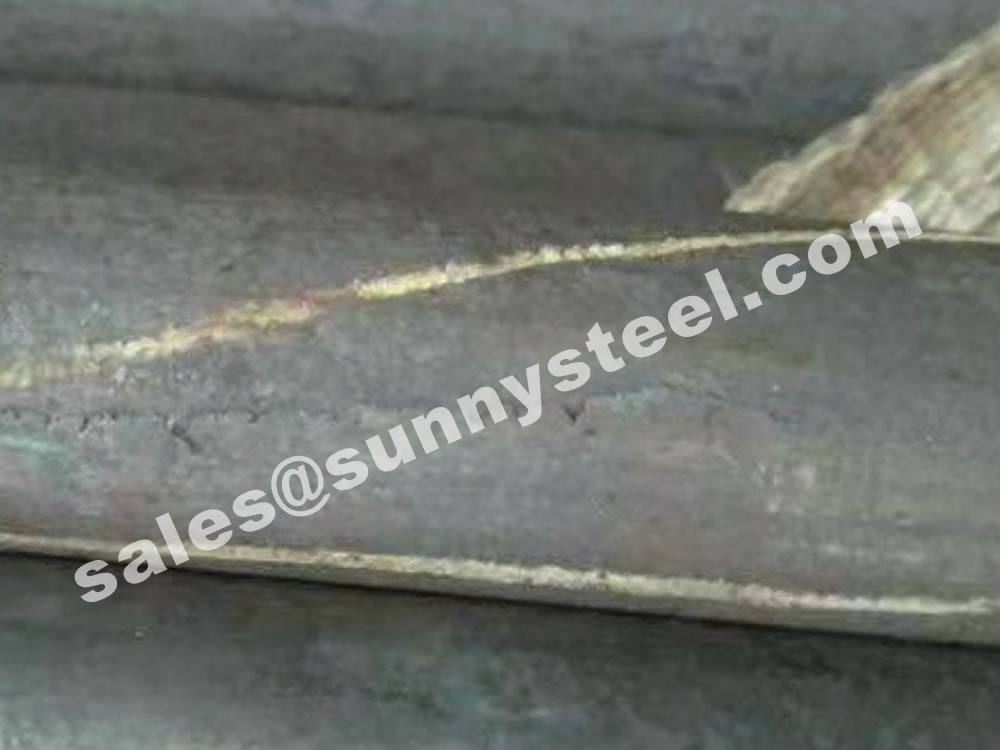
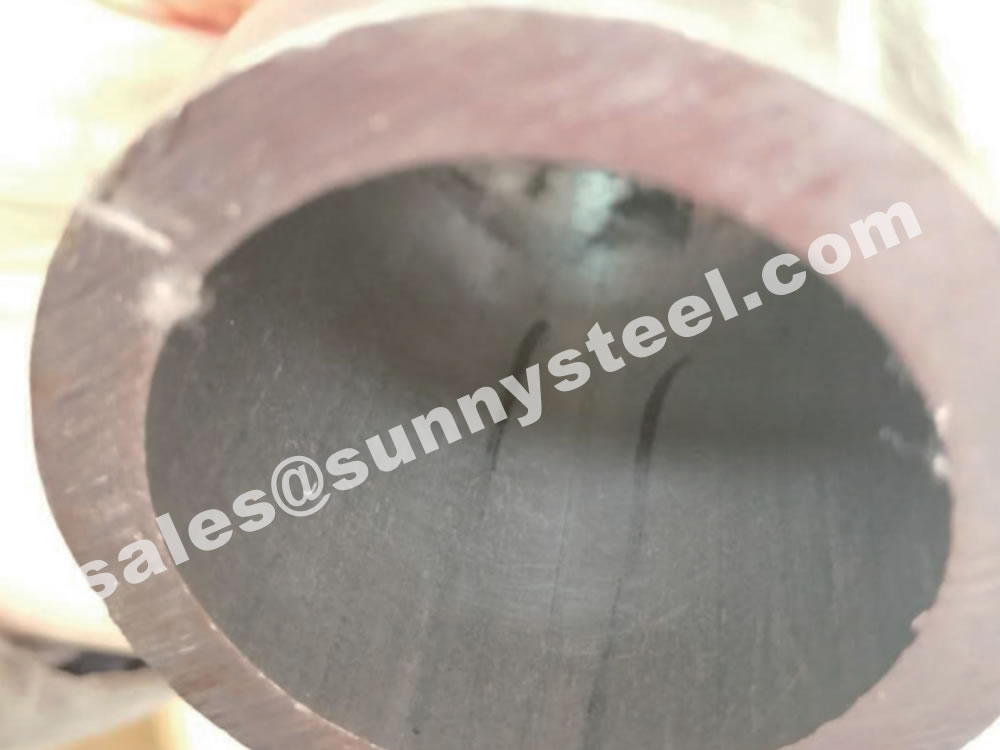
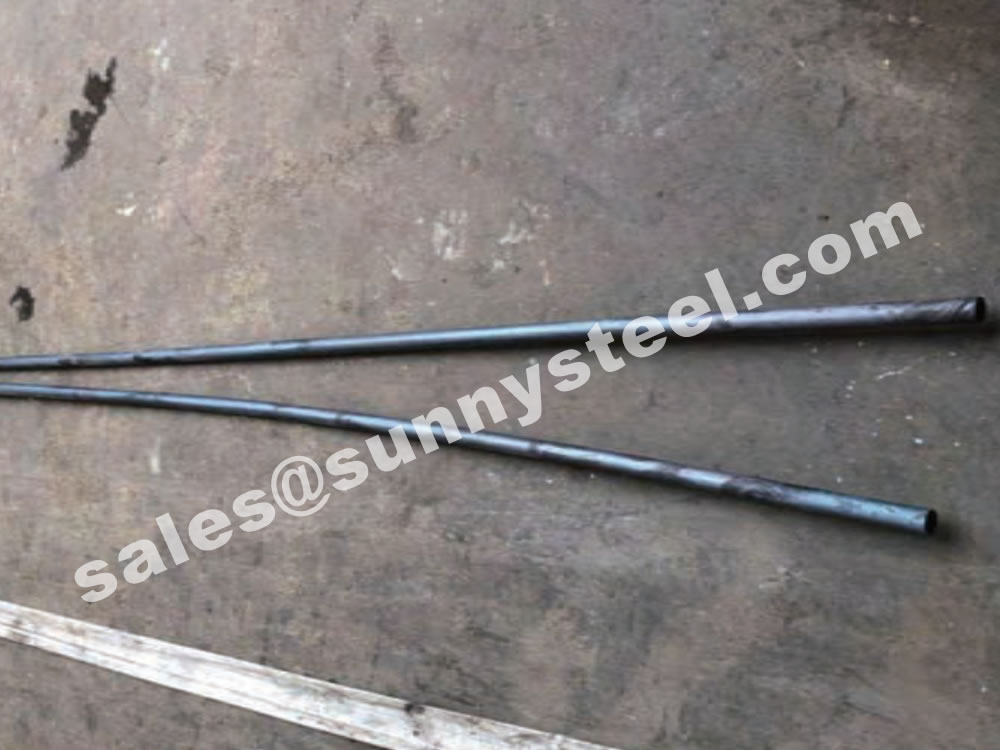
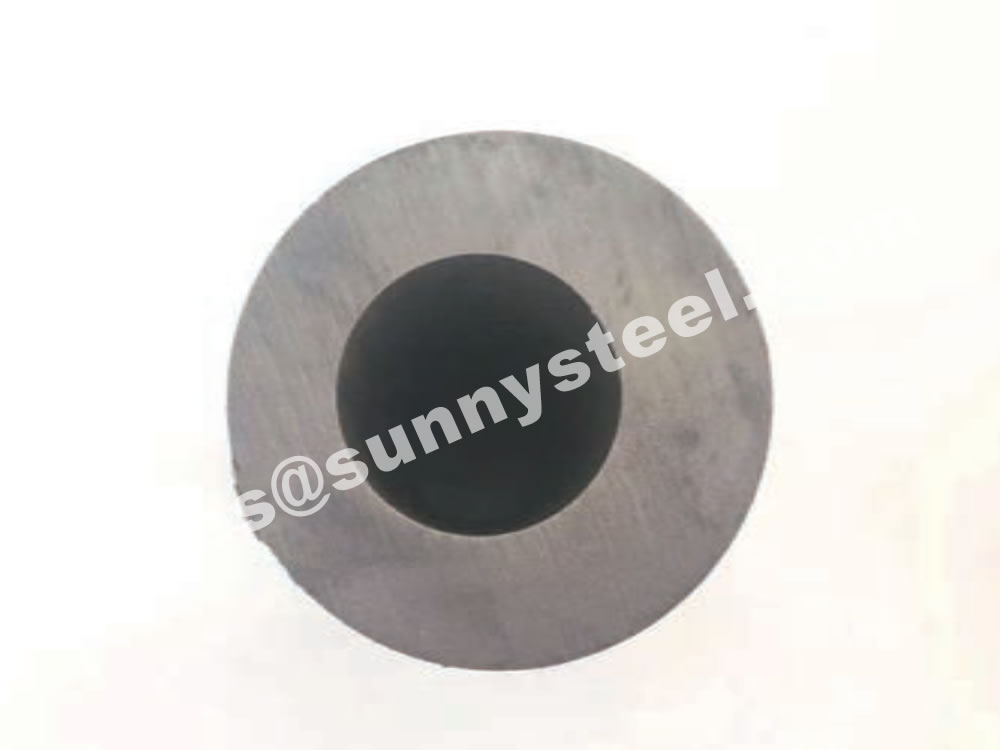
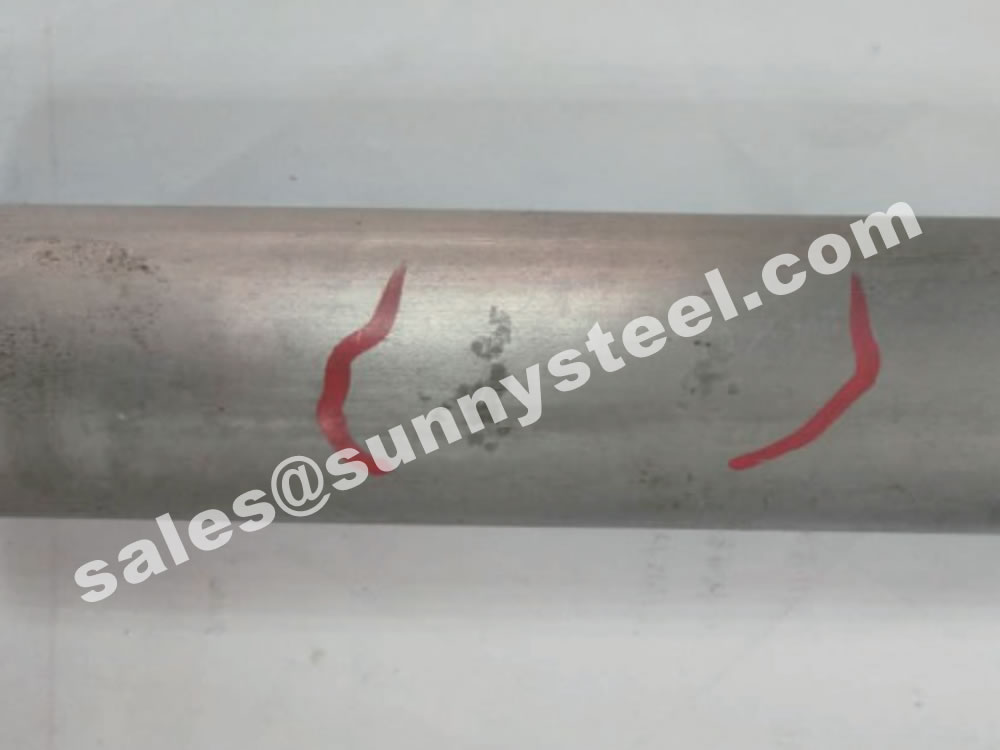
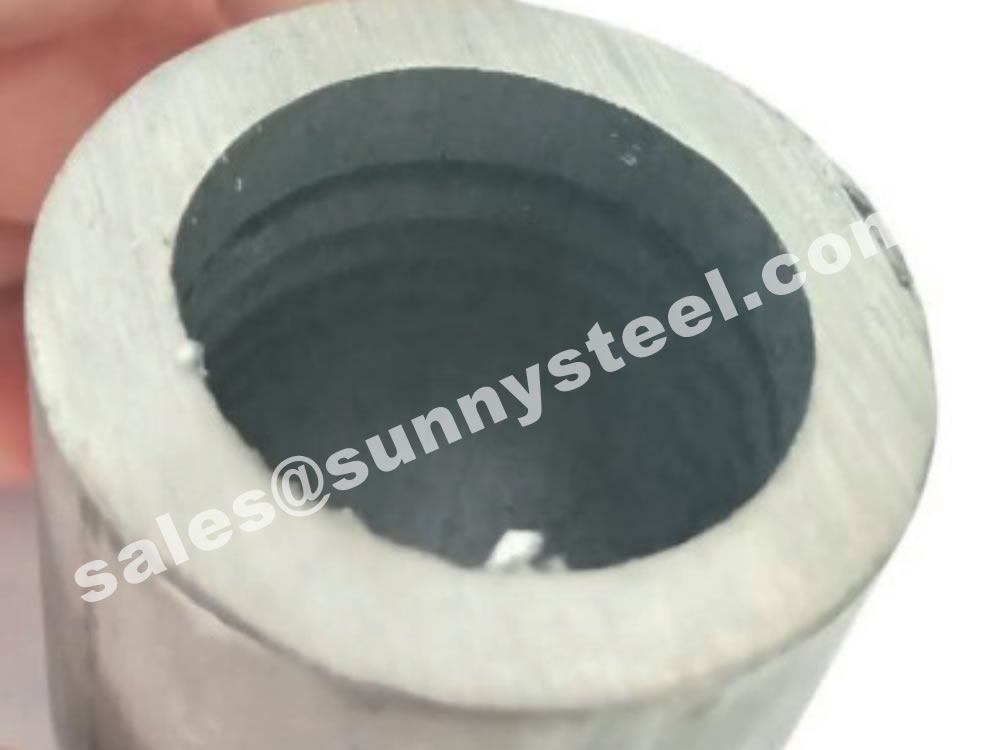
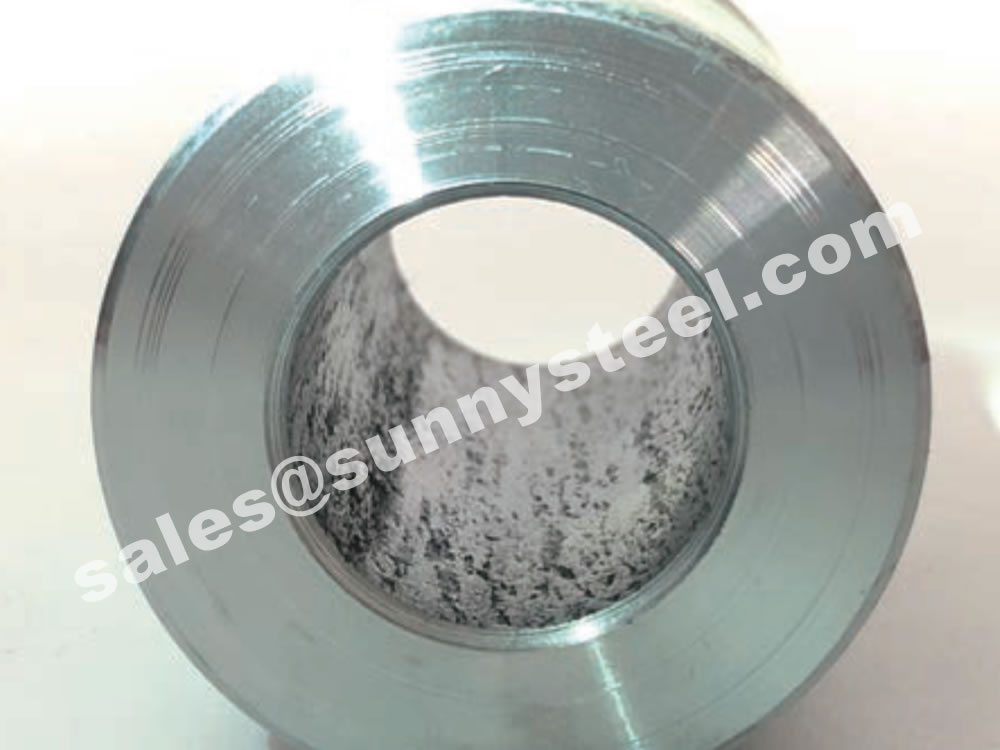
The above problems can be solvedby our factory.
Explore our range of high-quality rebar couplers designed for efficient and reliable connection of reinforcing bars in construction projects.
Carbon Chrome Tubing manufactured from an alloy containing a high proportion of chrome, typically greater than 13%.
Monel pipes are a superalloy composed of nickel and copper and are a popular choice for chemical plants, oil refineries, petrochemical facilities and wastewater treatment plants because of their durability.
17-4PH is a precipitation hardened(PH) martensitic stainless steel consisted of copper and niobium/tantalum.
Alloy 17-4 PH is a high strength stainless steel with good hardness and modest corrosion resistance properties, used widely in marine, food processing and petrochemical industries.
The ceramic sleeves lined pipe as a whole part, and then assemble it into the steel pipe with our high-strength-temperature-resistant epoxy adhesive.
95% alumina ceramic sleeve lined pipes, elbows and T pipes have been largely applied in lithium battery material conveying system in recently years.
Hydraulic system
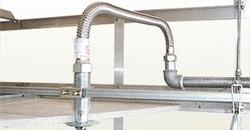
Fire Fighting Accessories
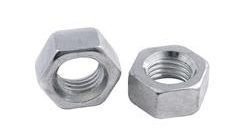
Fastener - High Strength Nut
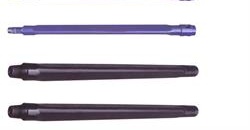
Triangular Drill Pipe
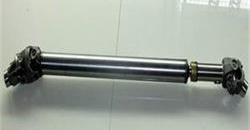
Agricultural Drive Shaft
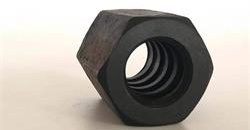
Pre-stressed Anchoring Nut
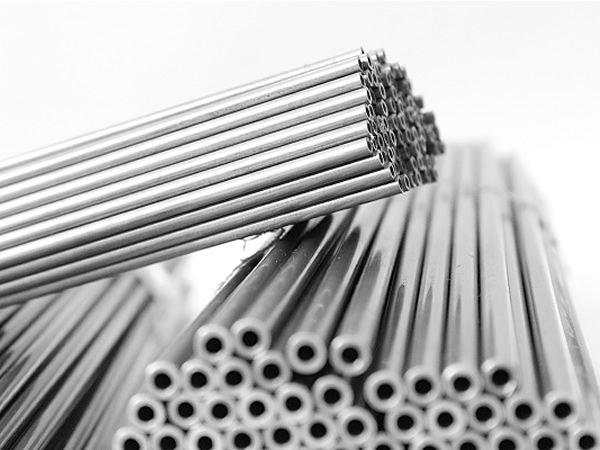
Standard precision tubes are produced using the cold drawn process. Seamless steel tubes can be supplied as cut tubes and bent tubes. Cut tubes are designed especially for manufacturers of automotive components.
Precision steel tubes from our production satisfy the requirements for the following applications: components for the vehicle drivetrain, cars suspension systems, fuel injection, components for engine and transmission, components for body and chassis, vehicle control systems and others.
| OUTER DIAMETER (OD) | 4,0 – 125,0 mm |
| WALL THICKNESS (WT) | 0,5 – 12,0 mm |
| EN 10305-1 | E215, E235, E255, E355, E410, 26Mn5, 26Mo2, C35E, C45E, 25CrMo4, 42CrMo4, 25CrMo4 |
| ASTM 519, SAE1-2 | 1008, 1010, 1012, 1015, 1016, 1017, 1018, 1019, 1020, 1021, 1022, 1025, 1026, 1030, 1035, 1040, 1045, 1050, 1518, 4130, 4140, 4142, 8617. |
| JIS G3445 | STKM11A, STKM12A, STKM12B, STKM12C, STKM13A, STKM13B, STKM13C, STKM14A, STKM14B, STKM14C, STKM15A, STKM15C, STKM16A, STKM16C, STKM17A, STKM17C, STKM18A, STKM18B, STKM18C, STKM19A, STKM19C, STKM20A |
| DIN 239 | St35, St45, St52. |
| Standard | Grade |
| EUROPEAN STANDARDS | EN 10305-1, DIN 2391, BS 6323/4, NF A 49-310, NF A 49-312, UNI 7945, STN/ČSN 42 6711, STN/ČSN 42 6712, PN-H 74240, PN-H 74220 |
| RUSSIAN STANDARDS | GOST 8734, 9567, 12132 |
| AMERICAN STANDARDS |
ASTM A450 a A519 |
| JAPANESE STANDARDS | JIS G3445 |
Tolerances of the precision tubes are in accordance with the appropriate dimensional tables of standards. Usual value for the outside diameter (OD) is less than 0.5% of OD in no heat treatment process used. For the heat treated tubes, tolerance values are depended upon the relation of the wall thickness and the tube diameter (WT/OD) and are larger (up to a single or twofold).
In tolerances of the outside diameter (OD) the allowed deviation of circularity is included. When ordering based on the wall thickness, the tolerance is 10% from the wall thickness. Eccentricity of precision tube is included in the wall thickness tolerance.
Maximum tubes length is 18 meters.
Types of supplied length are:
(a) random length, in the range of 3 – 7 (9) m,
(b) fixed length, ± 500 mm,
(c) exact length, – 0 / + x mm (x upon agreement),
(d) tubes can be supplied as cut tubes
Mandatory testing:
(a) cast / chemical analysis
(b) tensile test,
(c) dimensional inspecti,
(d) visual inspection of the tubes surface.
Optional testing:
(a) flattening test or drift expanding test,
(b) roughness measurement NDT to find longitudinal defects,
(c) eddy current (STN 01 5054, PRP 02-74, SEP 1925, ASTM E 309, EN 10246-3 Gr.E3),
(d) stray flux (STN 01 5047, ČSN 01 5047, SEP 1913, ASTM E 570, EN 10246-5 Gr.F3),
(e) ultrasound (STN 01 5028, ČSN 01 5028, SEP 1915, ASTM E 213, EN 10246-7 Gr.U3),
(f) NDT as a proof of tightness or leakage test by eddy current EN 10246-1.
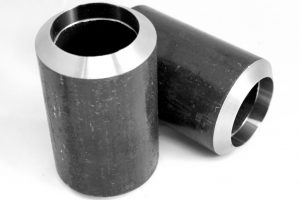
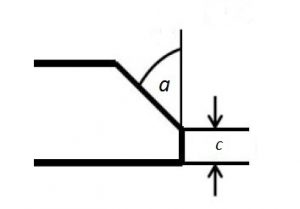
The tubes with deburred ends or ends customized for welding.
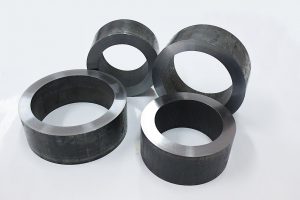
The ends are vertical to the longitudinal axis and are without burrs.
While ordering, it is necessary to agree upon the method and means of temporarily protecting the surface of the tubes during transportation and storiage.
Inspection documents are issued in particular in accordance with EN 10204 or ISO 10474.
| EN 10204 | 2.2 nonspecified testing (only mandatory tests), 3.1 specific testing, 3.2 after agreement . |
Straightness of the tubes is influenced by the mechanical properties of the tubes.
For material having the yield point ReH <= 500 MPa is straightness 0,0015 multiple of the tube length maximum, allowed straightness for one meter length is 1.5 milimeters.
For material with the yield point ReH > 500 MPa the allowable straightness for the whole length of the tube is 0.0020 multiple of the tube length, allowed straightness of one meter is 2 milimeters.
Precision tubes are supplied in condition that is presented in the table below. It is marking for thermal processing according to EN 10305-1.
+C Cold drawn / hard. After the last cold forming no heat treatment.
+LC Cold drawn / soft. After the last heat treatment follows the cold drawing there is a light finishing pass.
+SR Cold drawn and stress relieved annealed. After the final cold drawing process the tubes are stress relieved annealed in a controlled atmosphere.
+A Annealed. After the last cold drawing process the tubes are annealed in a controlled atmosphere.
+N Normalized. After the last cold drawing process the tubes are annealed in a controlled atmosphere.
Marking for material condition according to DIN 2391-2 and ASTM 519.
