DSAW Pipe
Double Submerged Arc Welded (DSAW) pipes for reliable and strong construction.
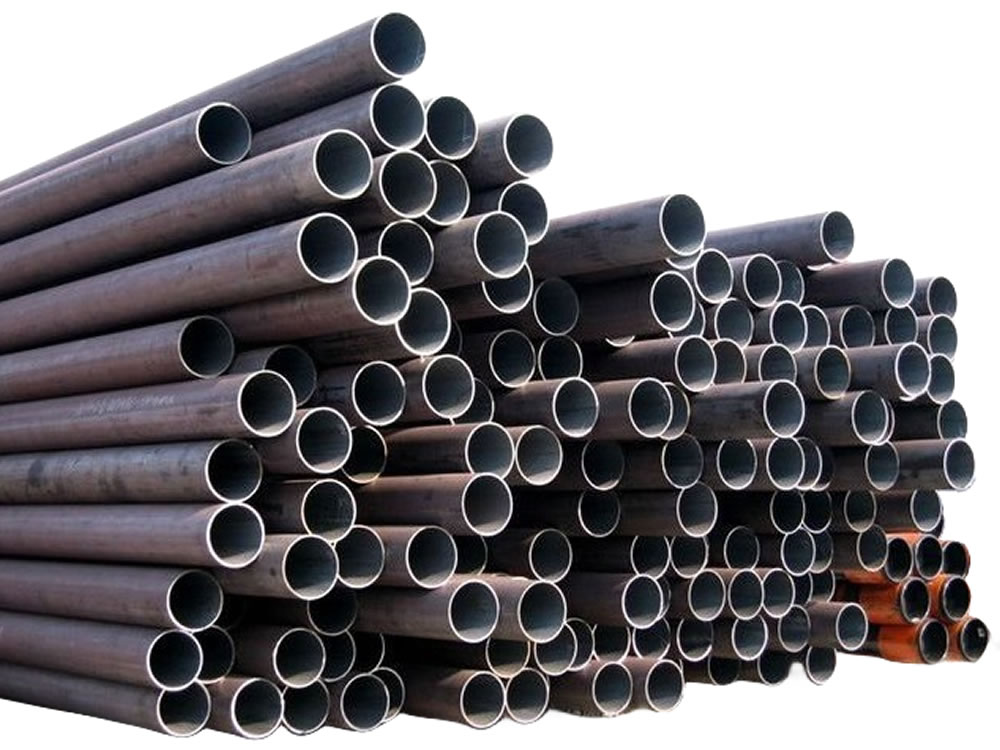
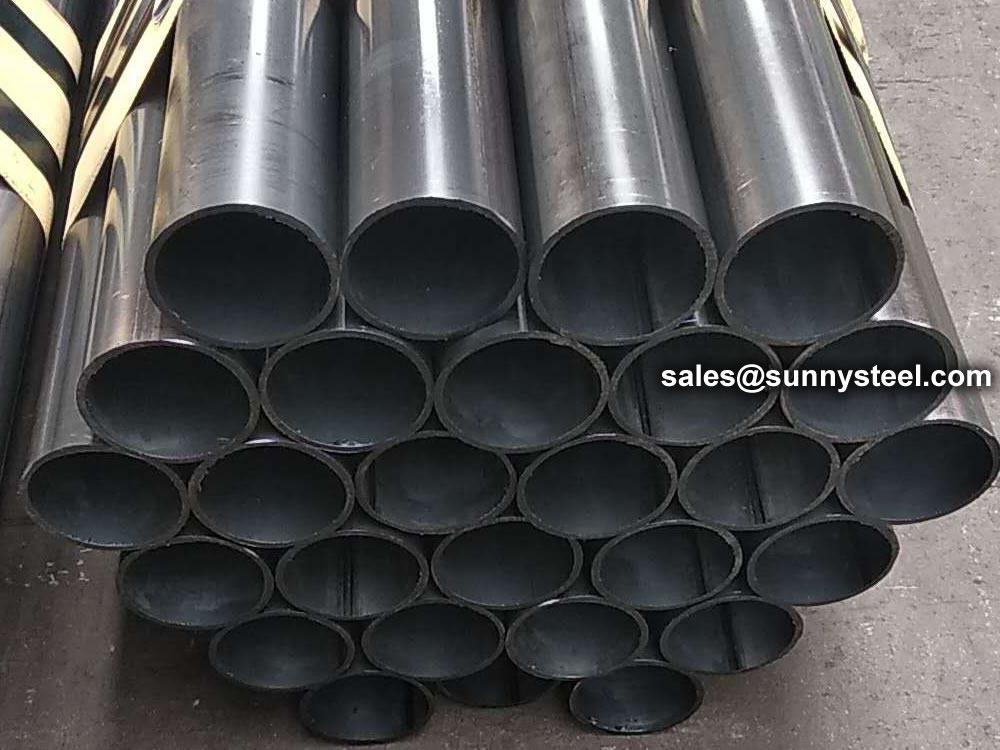
ASTM A135 Gr.B ERW pipe refers to electric resistance welded steel pipes that conform to the ASTM A135 standard, specifically Grade B.
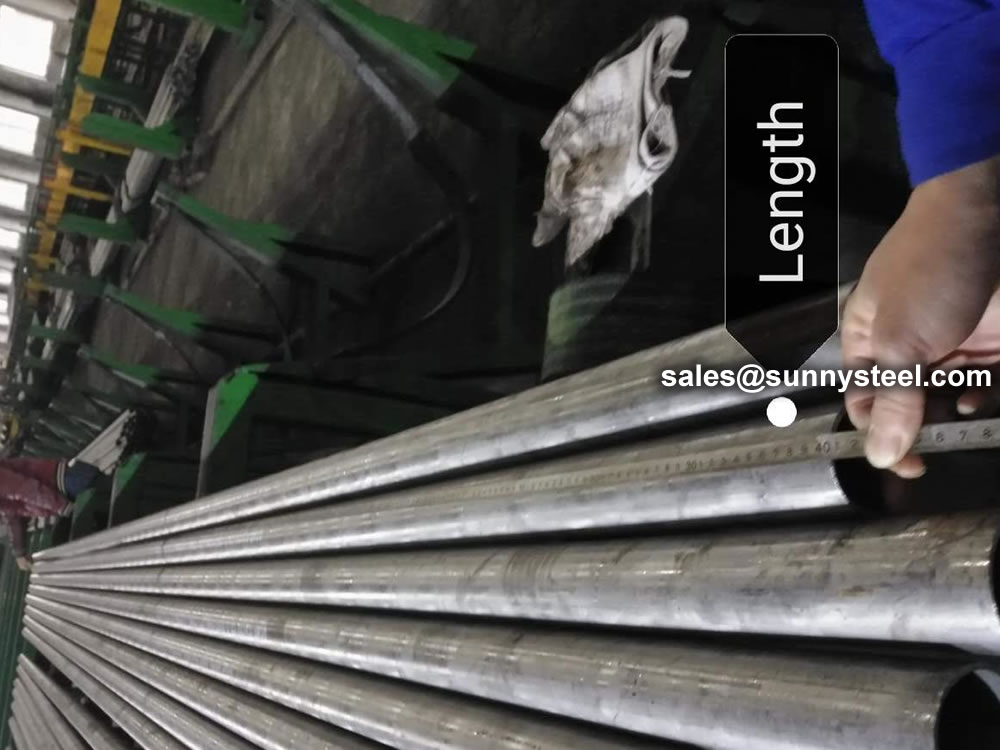
ASTM A135 Gr.B ERW pipes are intended for conveying gas, vapor, water, or other liquids. They are commonly used in various industries, including fire protection systems, plumbing, and general-purpose applications. ASTM A135 Gr.B ERW pipes are available from various manufacturers and suppliers. They come in different lengths and can be customized to meet specific project requirements.
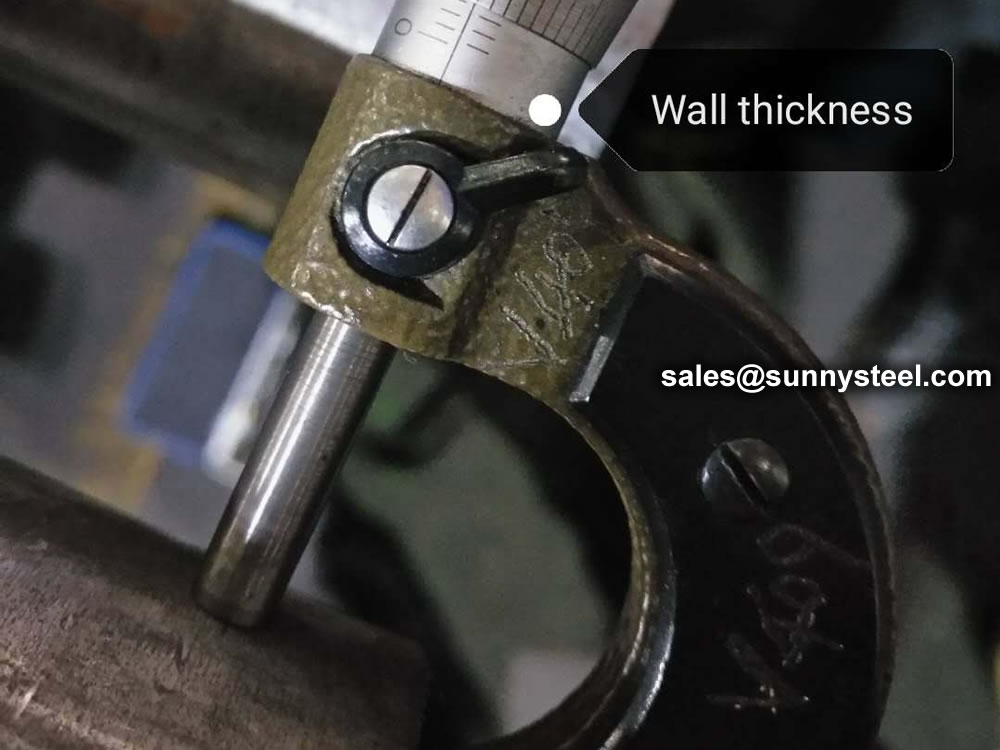
ASTM A135 Grade B Electric-Resistance-Welded (ERW) steel pipes are used for conveying gas, vapor, water, or other liquids. They are available in a range of sizes from NPS 2 to NPS 30, with nominal wall thicknesses up to 0.500 inches [12.7 mm], and in smaller nominal sizes from NPS 3/4 to NPS 5, with wall thicknesses ranging from 0.083 inches [2.11 mm] to 0.134 inches [3.40 mm] depending on size.
ASTM A135 Grade B ERW pipes are commonly used in applications such as fire sprinkler systems, gas and oil transportation, and other fluid conveyance systems where high strength and durability are required.
The steel is made by either basic-oxygen or electric-furnace processes. The pipes are manufactured from flat rolled steel in individual lengths or continuous lengths. Grade B pipes are heat-treated after welding to enhance their mechanical properties.
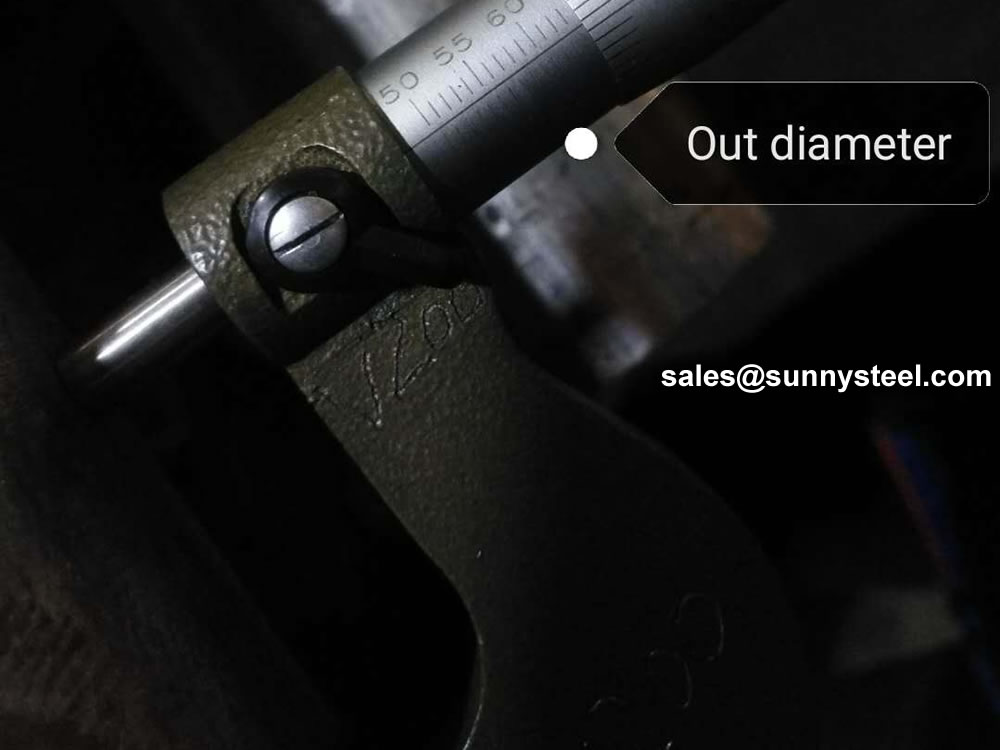
ASTM A135, identical with ASME SA-135, is the standard specification for electric-resistance-welded steel pipe. It covers two grades of ERW steel pipe in NPS 2 to NPS 30 [DN 50 to DN 750], with nominal (average) wall thickness up to 0.500″ [12.7 mm], and in nominal sizes NPS 3/4 to NPS 5 [DN 20 to DN 125] with nominal (average) wall thickness 0.083″ [2.11 mm] to 0.134″ [3.40 mm], depending on size. Pipe having other dimensions may be furnished provided such pipe complies with all other requirements of this specification.
The ASTM A135 ERW steel pipes are intended for conveying gas, vapor, water or other liquid; only Grade A is adapted for flanging and bending. The selection of this ERW pipe for various applications depends on its dimensions, properties, and conditions of service. The pipe may be furnished either non-expanded or cold expanded at the option of manufacturer. When pipe is cold expanded, the amount of expansion shall not exceed 1.5% of the outside diameter of pipe size.
| Element | Composition, max, % | |
|---|---|---|
| Grade A | Grade B | |
| C | 0.25 | 0.30 |
| Mn | 0.95 | 1.20 |
| P | 0.035 | 0.035 |
| S | 0.035 | 0.035 |
*The steel from which the ASTM A135 ERW pipe is made shall conform to the chemical requirements prescribed in this table, based on heat analysis.
| ASTM A135 | Grade A | Grade B |
|---|---|---|
| Tensile Strength, min, ksi [MPa] |
48 [330] |
60 [415] |
| Yield Strength, min, ksi [MPa] |
30 [205] |
35 [240] |
| Elongation, min, % |
35 | 30 |
*The yield strength shall be determined by the offset method utilizing 0.2% of the gauge length or by the total extension under load method using 0.5% of the gauge length.
The steel shall be made by either or both of the following processes: basic-oxygen or electric furnace. The steel may be cast in ingots or may be strand cast. In modern industry, ASTM A135 ERW steel pipes, either Grade A or Grade B, are generally made by a high-frequency electric-resistance welding process. The pipe shall be manufactured from flat rolled steel (plate) in individual lengths or in continuous length by electric-resistance or electric-induction welding without the addition of extraneous material. In simple words, no filler metal is required. The weld seam of ERW pipe to ASTM A135 Grade B shall be heat treated after welding to a minimum temperature of 1000°F [540°C] or processed in such a manner that no untempered martensite remains.
The ASTM A135 ERW steel pipes shall be reasonably straight and free of defects. Surface imperfections in excess of 12.5% of the nominal wall thickness shall be avoided. The pipes may be furnished with plain end, beveled end, or threaded end. Especially, ERW pipes furnished to SCH 10 shall be plain end only. All inside and outside cutting burrs shall be removed. Each length of threaded pipe shall be provided with one coupling for connection purpose.
Strict quality control shall be implemented to ensure the good quality of ASTM A135 ERW steel pipes. This includes chemical analysis of each heat lot, tension test, dimensional inspection, visual examination, hydrostatic test, flattening test, or non-destructive test (NDT) when required by the purchaser.
| Product Name | Executive Standard | Dimension (mm) | Steel Code / Steel Grade |
|---|---|---|---|
| Casting | API 5CT | Ø48.3~273 x WT2.77~11.43 | J55, K55, N80, L80 |
| Tubing | API 5CT | Ø48.3~273 x WT2.77~11.43 | J55, K55, N80, L80, H40 |
| Product Name | Executive Standard | Dimension (mm) | Steel Code / Steel Grade |
|---|---|---|---|
| Line Pipes | API 5L | Ø60.3~273.1 x WT2.77~12.7 | A25, A, B, X42, X46, X52, X56, X60, X65, X70, X80 |
| Product Name | Executive Standard | Dimension (mm) | Steel Code / Steel Grade |
|---|---|---|---|
| Electric-Resistance-Welded Steel Pipes | ASTM A135 | Ø42.2~114.3 x WT2.11~2.63 | A |
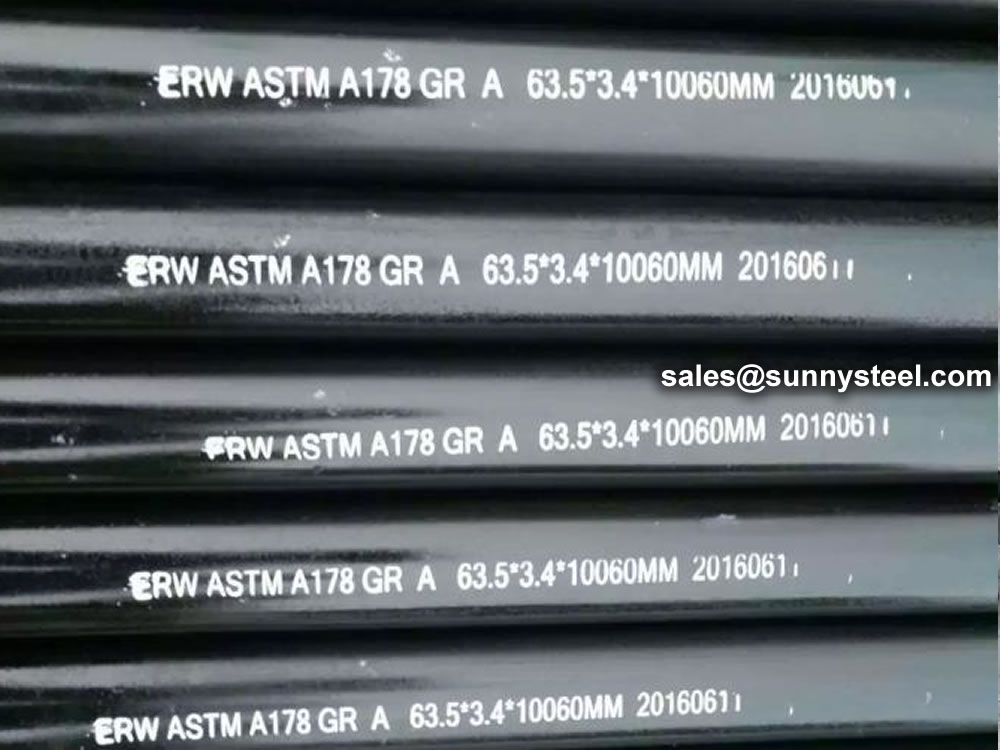
| Electric-Resistance-Welded Carbon Steel and Carbon-Manganese Steel Boiler and Superheater Tubes | ASTM A178 | 42.2-114.3 x 2.11-2.63 | A, C, D |
| ERW and Hot-dip Galvanized Steel Pipes | ASTM A53 | Ø21.3~273 x WT2.11~12.7 | A, B |
| Pipes for Piling Usage | ASTM A252 | Ø219.1~508 x WT3.6~12.7 | Gr.2, Gr.3 |
| Tubes for General Structural Purpose | ASTM A500 | Ø21.3~273 x WT2.11~12.7 | Gr.2, Gr.3 |
| Square Pipes for General Structural Purpose | ASTM A500 | 25 x 25~160 x 160 x WT1.2~8.0 | Carbon Steel |
| Product Name | Executive Standard | Dimension (mm) | Steel Code / Steel Grade |
|---|---|---|---|
| Threaded Steel Pipes | DIN 2440 | Ø21~164 x WT2.65~4.85 | Carbon Steel |
| Product Name | Executive Standard | Dimension (mm) | Steel Code / Steel Grade |
|---|---|---|---|
| Screwed and Socketed Steel Tubes | BS 1387 | Ø21.4~113.9 x WT2~3.6 | Carbon Steel |
| Scaffolding Pipes | EN 39 | Ø48.3 x WT3.2~4 | Carbon Steel |
| Product Name | Executive Standard | Dimension (mm) | Steel Code / Steel Grade |
|---|---|---|---|
| Carbon Steel Tubes for General Structure Purpose | JIS G3444 | Ø21.7~216.3 x WT2.0~6.0 | Carbon Steel |
| Carbon Steel Tubes for Machine Structure Purpose | JIS G3445 | Ø15~76 x WT0.7~3.0 | STKM11A, STKM13A |
| Carbon Steel Pipes for Ordinary Piping | JIS G3452 | Ø21.9~216.3 x WT2.8~5.8 | Carbon Steel |
| Carbon Steel Pipes for Pressure Service | JIS G3454 | Ø21.7~216.3 x WT2.8~7.1 | Carbon Steel |
| Carbon Steel Rigid Steel Conduits | JIS G8305 | Ø21~113.4 x WT1.2~3.5 | G16~G104, C19~C75, E19~E75 |
| Carbon Steel Rectangular Pipes for General Structure | JIS G3466 | 16 x 16~150 x 150 x WT0.7~6 | Carbon Steel |
The alloy content of the coil is often lower than similar grades of steel plate, improving the weldability of the spiral welded pipe. Due to the rolling direction of spiral welded pipe coil is not perpendicular to the pipe axis direction, the crack resistance of the spiral welded pipe materials.
Welded steel pipe refers to a steel pipe with seams on the surface that is welded by bending and deforming a steel strip or steel plate into a circular, square or other shape. The blanks used for welded steel pipes are steel sheets or strips.
Since the 1930s, with the rapid development of continuous rolling production of high-quality strip steel and the advancement of welding and inspection technology, the quality of welds has been continuously improved, and the varieties and specifications of welded steel pipes have been increasing.
When the T-shaped welded steel pipe contains Ni, it has strong corrosion resistance in an acidic environment. In an environment containing sulfuric acid or hydrochloric acid, the higher the Ni content in the T-shaped welded steel pipe, the stronger the corrosion resistance. Under normal circumstances, only adding Cr to the T-shaped welded steel pipe can prevent the phenomenon of corrosion. The poor edge condition of the strip is another important cause of misalignment. The effects of changes in mass flow, heat flow density and structural parameters (ratio of helical curvature diameter to T-shaped welded steel pipe diameter Dc/D) on the heat transfer coefficient of saturated bubble boiling in vertical spiral pipes.
During the production of T-shaped welded steel pipes, misalignment occurs from time to time, and there are many influencing factors. In production practice, the steel pipe is often degraded by the wrong side and out of tolerance. Therefore, it is necessary to analyze the reasons for the misalignment of the spiral steel pipe and its preventive measures.
Due to the poor shape and dimensional accuracy of the head and tail of the uncut steel strip, it is easy to cause the steel strip to bend hard and cause misalignment during butt joint. Simulation parameter range: vertical pipe: pipe diameter D=10mm, pipe length L=660mm; three types of vertical T-shaped welded steel pipe: pipe diameter D=10mm, the change of the ratio of the curvature diameter of the T-shaped welded steel pipe to the spiral pipe diameter is Dc /D=15, 20, 25, helical pitch Pt=20mm, tube lengths are L=503mm, L=660mm, L=817mm respectively. Mass flow G=200~400Kg/(m'2 s), heat flux density q=5~15KW/m'2, saturation pressure p, saturation=0.414880MPa, saturation temperature T, saturation=283.15K.
The technical requirements and inspection of welded pipes are based on the provisions of the GB3092 "Welded Steel Pipes for Low-Pressure Fluid Transmission". It can be delivered according to fixed length or double length. The surface of the steel pipe should be smooth, and defects such as folds, cracks, delamination, and lap welding are not allowed. The surface of the steel pipe is allowed to have minor defects such as scratches, scratches, weld misalignment, burns and scars that do not exceed the negative deviation of the wall thickness. The thickening of the wall thickness and the presence of inner seam weld bars are allowed at the weld.
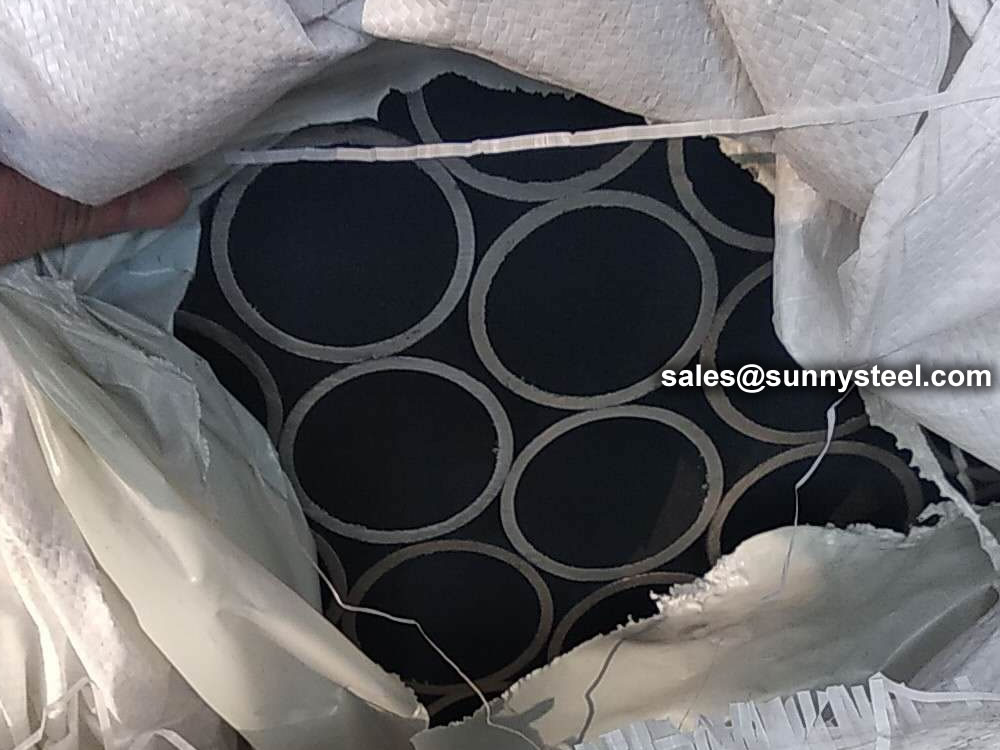
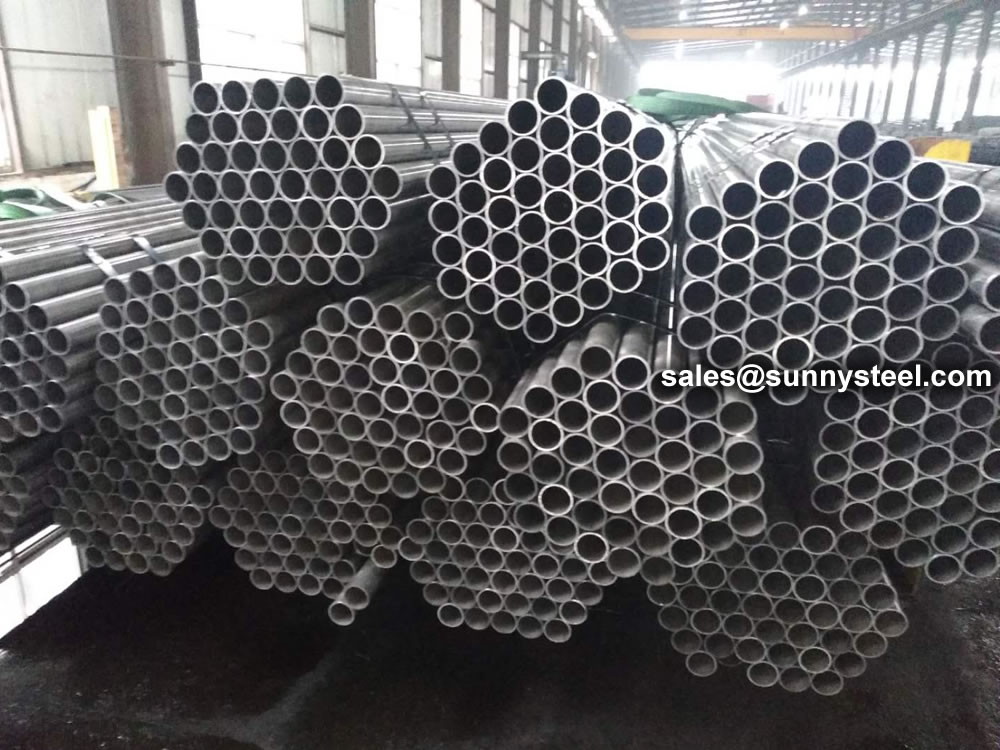
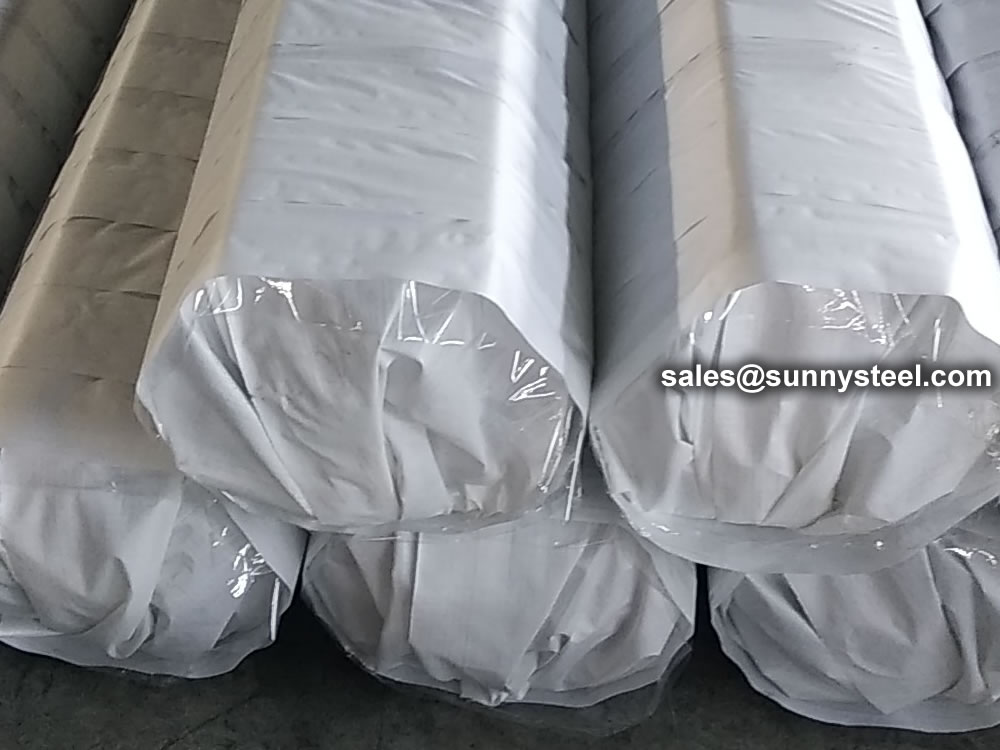
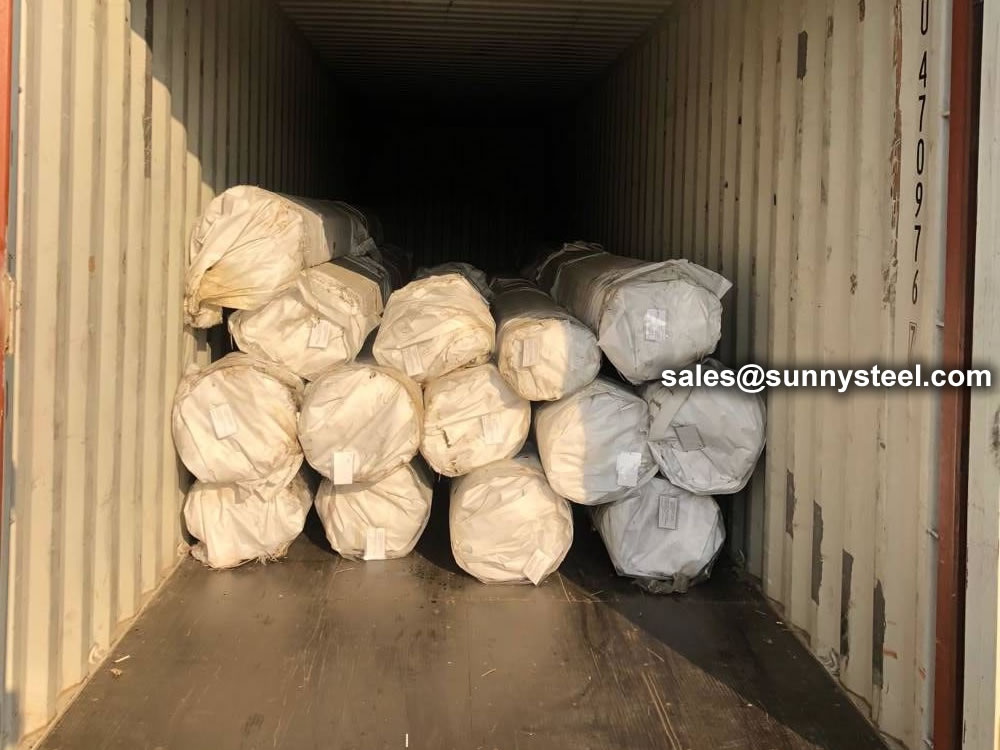
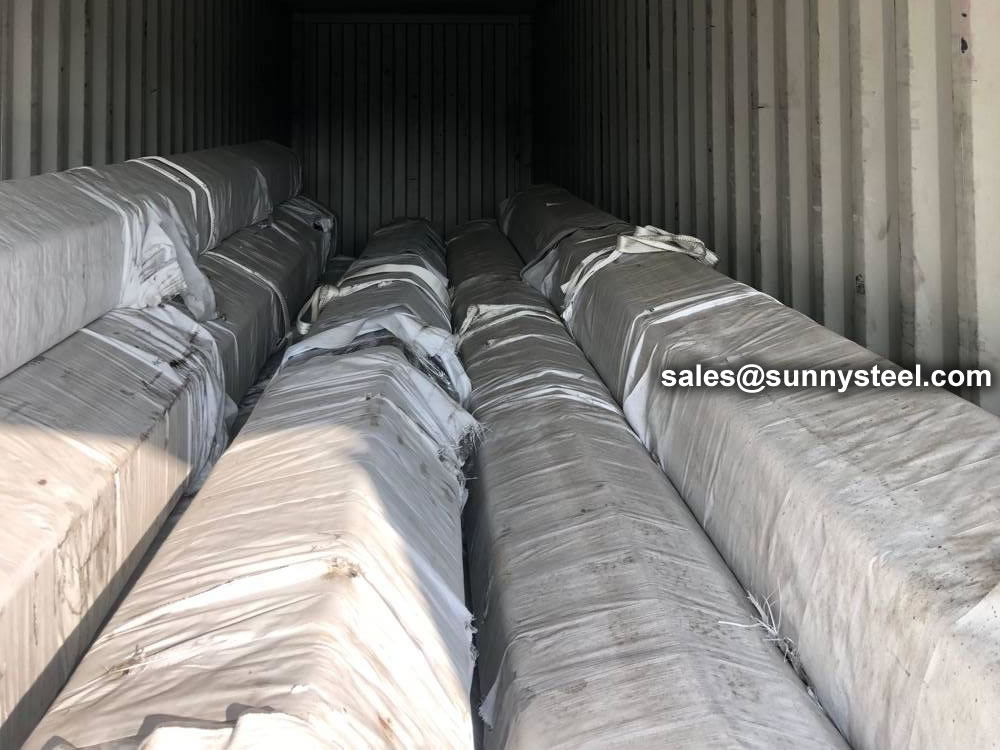
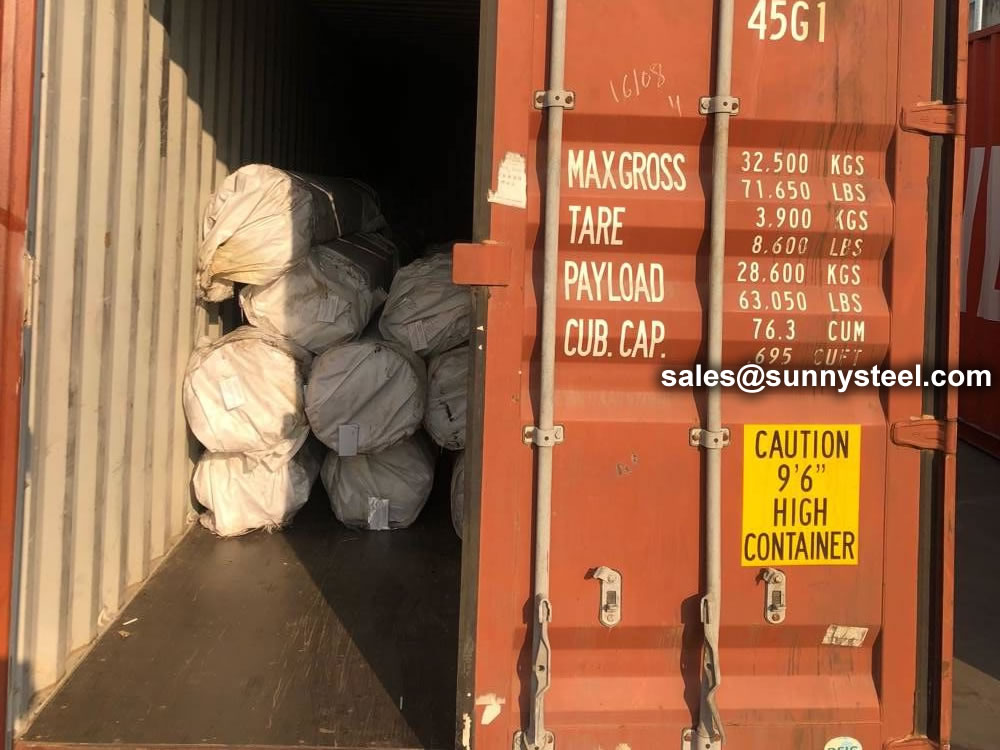
Welded steel pipes should be subjected to mechanical performance test, flattening test and flaring test, and must meet the requirements of the standard. When the steel pipe should be able to withstand the internal pressure, carry out a pressure test of 2.5Mpa, and keep it for one minute without leakage. The method of eddy current flaw detection is allowed to replace the hydrostatic test. The eddy current flaw detection is carried out according to the standard of GB7735 "Steel tube eddy current flaw detection inspection method". The eddy current flaw detection method is to fix the probe on the frame, keep a distance of 3~5mm between the flaw detection and the weld seam, and conduct a comprehensive scan of the weld seam by the rapid movement of the steel pipe. The flaw detection signal is automatically processed and sorted by the eddy current flaw detector. To achieve the purpose of flaw detection. The welded pipe after the flaw detection is cut off according to the specified length with a flying saw, and it is rolled off the assembly line through the turning frame. Both ends of the steel pipe should be chamfered with flat ends, printed with marks, and the finished pipes are packed in hexagonal bundles before leaving the factory.
Straight seam steel pipe is a steel pipe whose weld seam is parallel to the longitudinal direction of the steel pipe. Generally, its strength is higher than that of straight seam welded pipe. Narrower billets can be used to produce welded pipes with larger diameters, and the same width of billets can be used to produce welded pipes with different pipe diameters. But compared with the straight seam pipe of the same length, the weld length is increased by 30~100%, and the production speed is lower. So what are its processing methods?
The surface quenching and tempering heat treatment of straight seam welded pipe is usually carried out by induction heating or flame heating. The main technical parameters are surface hardness, local hardness and effective hardened layer depth. Vickers hardness tester can be used for hardness testing, and Rockwell or superficial Rockwell hardness tester can also be used. When the surface heat treatment hardened layer is thick, the Rockwell hardness tester can also be used. When the thickness of the heat-treated hardened layer is 0.4-0.8mm, the HRA scale can be used, and when the thickness of the hardened layer exceeds 0.8mm, the HRC scale can be used.
If the parts require high local hardness, local quenching heat treatment can be carried out by means of induction heating. Such longitudinal welded pipes usually need to mark the location of local quenching heat treatment and local hardness value on the drawing. Hardness testing of longitudinally welded pipes shall be carried out in the area. The hardness testing instrument can use a Rockwell hardness tester to test the HRC hardness value. If the heat-treated hardened layer is shallow, a surface Rockwell hardness tester can be used to test the HRN hardness value.
The three hardness values of Vickers, Rockwell and Superficial Rockwell can be easily converted to each other and converted into hardness values required by standards, drawings or users. The corresponding conversion tables are given in the international standard ISO, the American standard ASTM and the Chinese standard GB/T.
